Auto-Add Services
Approved staff can trigger the automatic adding of services after login or completion of a registration or similar activity.
Edit/Deactivate Location
- Navigate to Admin Tasks > ServiceLink tab > Auto-Add Services tile. The Auto-Add Services page displays.
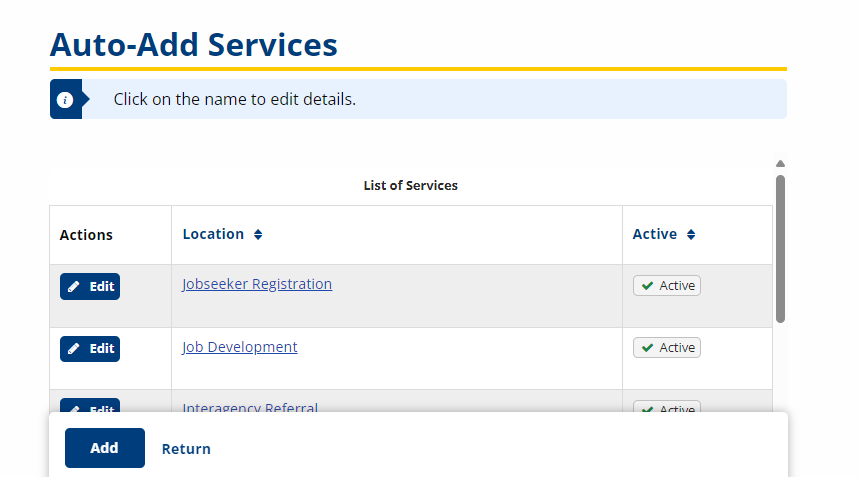
- Click the Edit button for the application location. The Edit Location page displays.
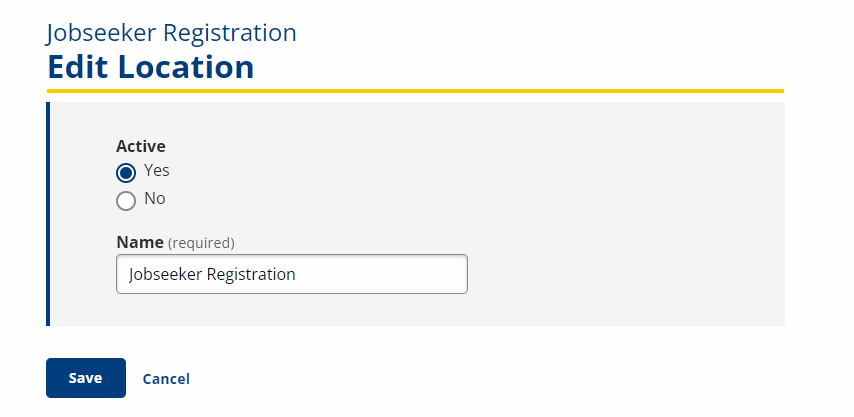
- Activate or deactivate the location by selecting Yes or No in the Active box. Do not edit the location Name.
- To save changes, click Save.
Activate Auto-Add Services for Enrollments
-
Navigate to Admin Tasks > ServiceLink tab > Auto-Add Services tile
- Click the desired link in the Location column to select services to be automatically added by enrollment. The Program Enrollments page displays.
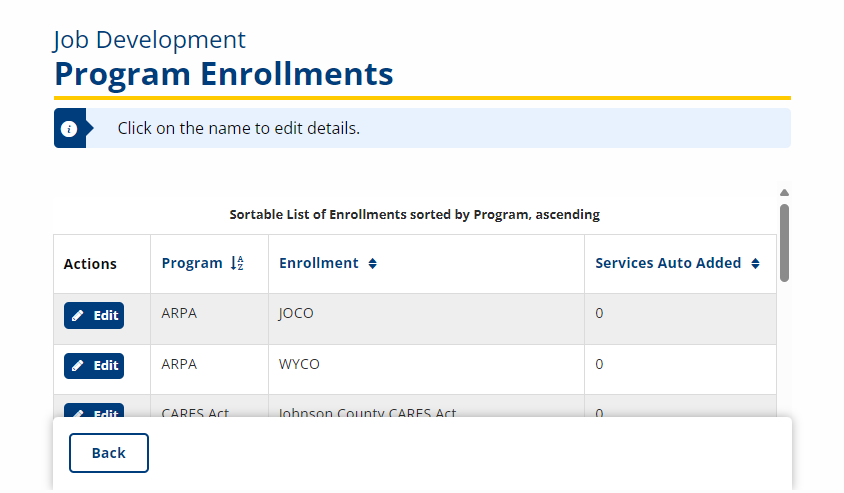
- Select the program that will allow the automatic addition of services and click the Edit button. A list of program-specific services displays.
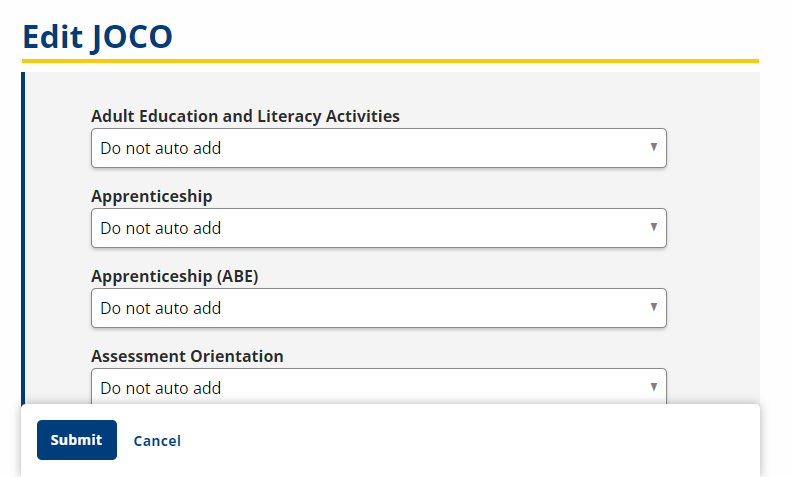
- To select a service(s) to be auto added, select either In Progress or Completed from the status drop-down list.
- To save your selections, click Submit.
Deactivate Auto Add Services for Enrollments
-
Navigate to Admin Tasks > ServiceLink tab > Auto-Add Services tile
- Click the desired link in the Location column to select services to be automatically added by enrollment. The Program Enrollments page displays.
- Click the Edit link next to the program enrollment affected. The list of program-specific services displays.
- Find the service you wish to deactivate and select Do not auto add from the drop-down list.
- To save your changes, click Submit.