Data Elements Editor
The Data Element Editor allows approved staff to edit or add types of files that can be tracked in the Document Uploader.
Add Data Element
- Navigate to Admin Tasks > ServiceLink tab > Data Elements Editor tile. The Data Elements page displays.
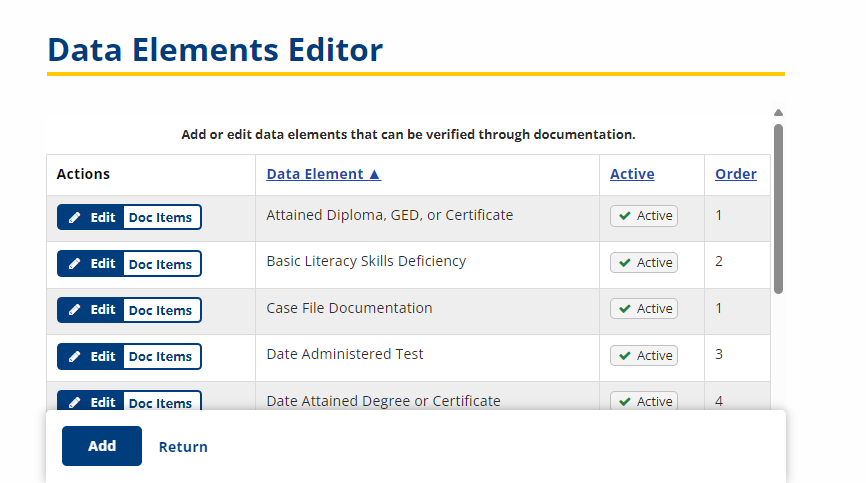
- Click Add. The Add Data Element page displays. Provide the following information:
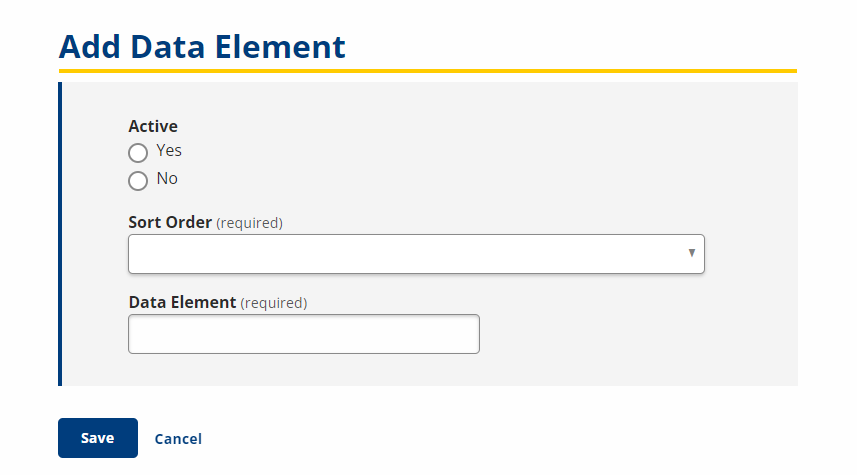
- Active: Option; Select Yes to make the data element active or No to make the element inactive.
- Sort Order: Drop-down; Select the order in which you want the data element to display.
- Data Element: Text; Type the name of the element, which displays as the type of file to select in the Document Uploader.
- Click Save.
Edit Data Element
-
Navigate to Admin Tasks > ServiceLink tab > Data Elements Editor tile. The Data Elements page displays.
- Click the Edit button next to the element you want to edit. The Edit Data Element page displays.
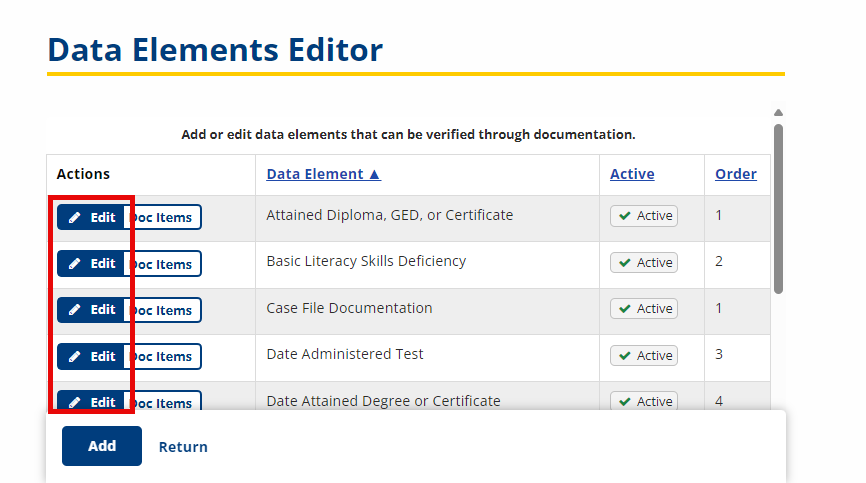
- Make any desired edits. Click Save.
Edit Validating Documents
-
Navigate to Admin Tasks > ServiceLink tab > Data Elements Editor tile. The Data Elements page displays.
- Click the Doc Items button next to the element you want to edit. The Edit Documentation Items page displays.
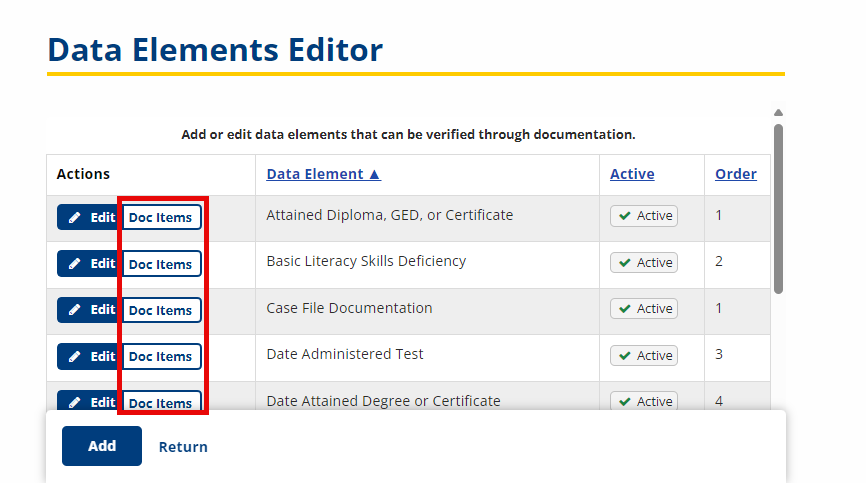
- Select any documents that would validate the data element. Click Save.
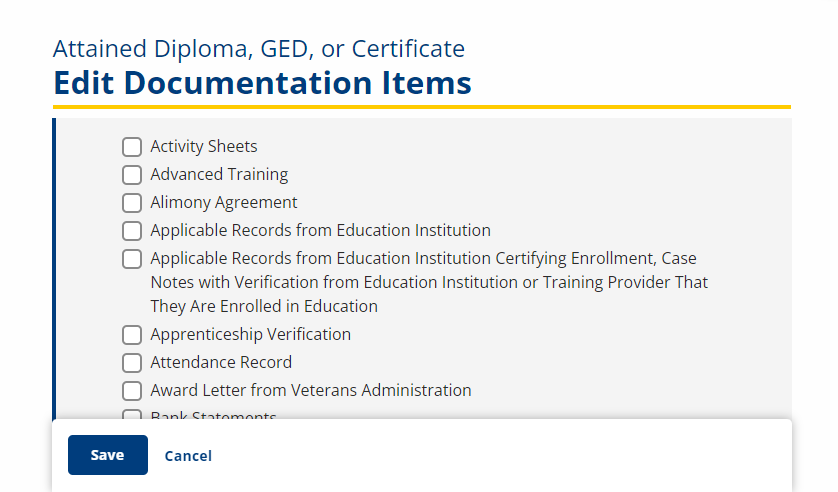
- For example, Case Notes, Case Notes Showing Information Collected from Participant, Certificates, Diploma, Letter from School System, and Transcripts validate Attained Diploma, GED, or Certificate.