Job Developments
Job Developments on Case Details is a record of job developments made. Job Developments are added through the employer record. To add a job development, first have the job seeker in context by accessing the job seeker's Case Details. Having the job seeker in context allows the job seeker's information to default when adding the job development. If the job seeker is not in context, you will need to know the SSN or Participant ID in advance.
Navigation
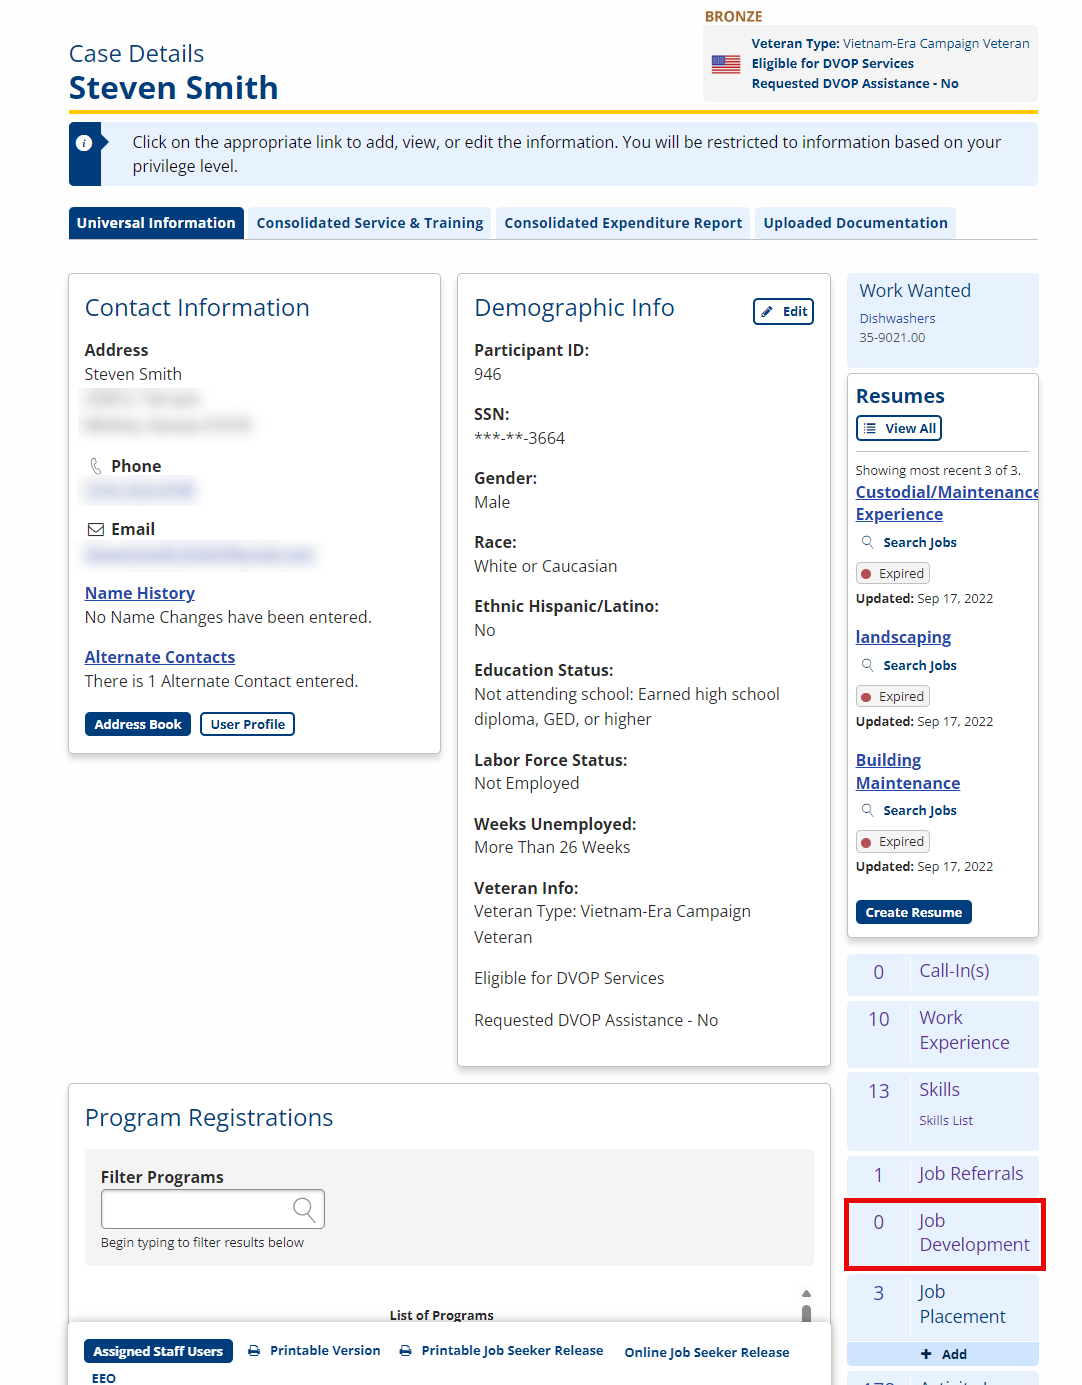
Bring the Job Seeker into context by conducting a Job Seeker Search or selecting the Job Seeker from My Cases. Click Job Developments in the Case Details page.
View/Edit/Delete Job Developments
- Navigate to Job Development. The job seeker's Job Developments page displays. To view additional details or to edit, click a name in the Employer column. The Employer Details page displays.
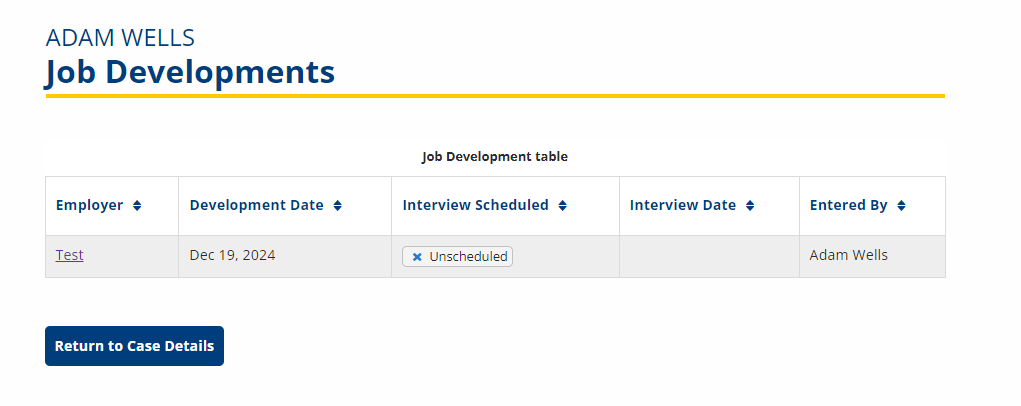
- Click the Job Development link on the Employer Details page. The employer's Job Developments page displays.
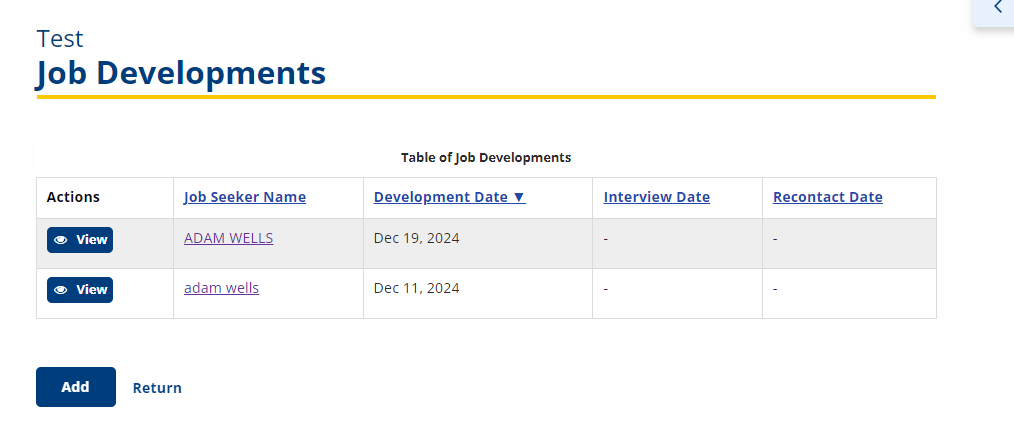
- Job developments can be viewed by everyone who access to the job seeker's Case Details, but can only be edited by the case manager who entered the job development.
- To view a specific Job Development, click the View link. The Job Development Details page displays with the non-editable details of the job development.
- To edit, click the Edit link. The Job Development page displays with the editable job development information.
- Edit the information as needed and click Save to save the changes and return. A confirmation message displays.
- The option to reprint the introductory letter or resend the introductory email displays. Users have the option to reprint/resend, or return without reprinting/resending.
- To delete the job development, click the Delete button. The Confirm Deletion page displays. Click the OK button to delete the job development and return, or click Return to return without deleting the job development.
Add Job Developments
- Bring the job seeker into context. If the job seeker is in context, his/her Participant ID will populate the Job Development. If the job seeker is not in context, the Participant ID or SSN must be entered.
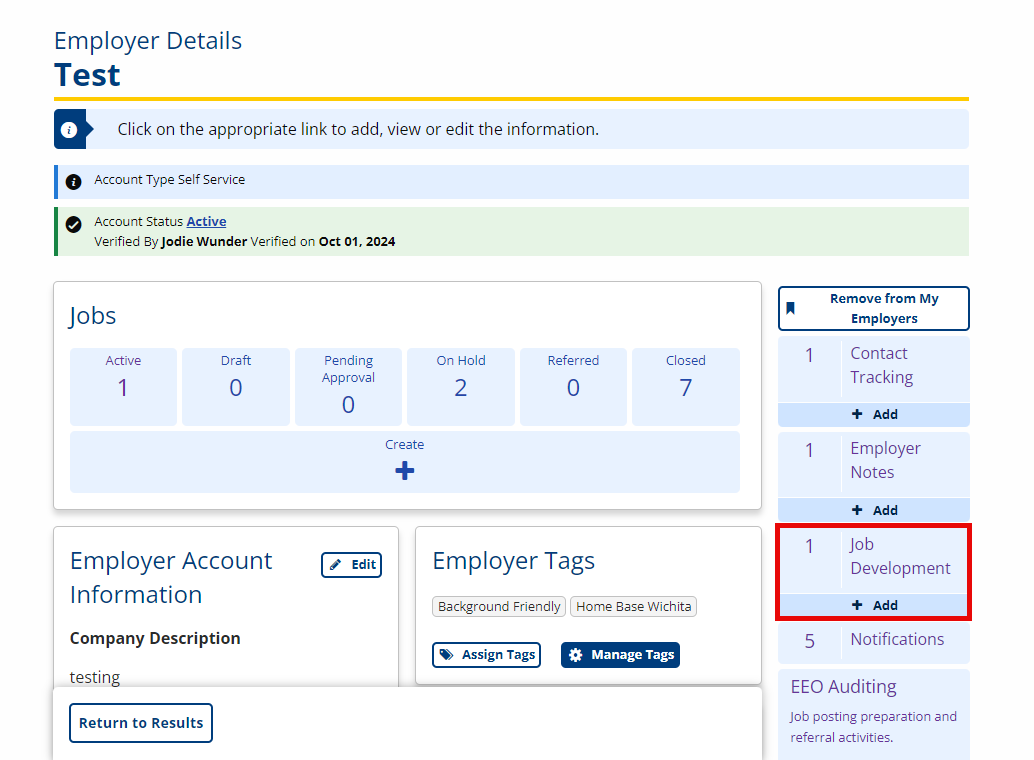
- Conduct an Employer Search and navigate to the Employer Details page.
- Click Add under the Job Development tile. The Job Development page displays.
-
In the New Job Development page that displays, type the job development information.
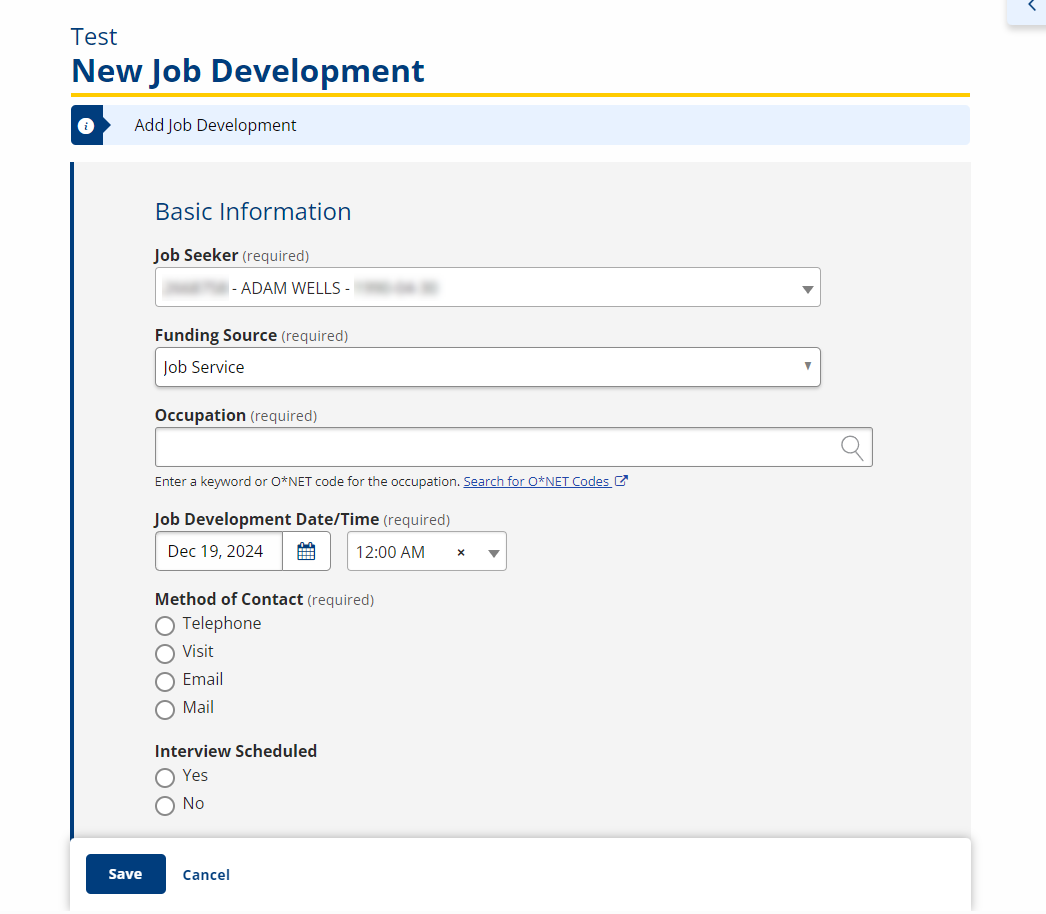
- Job Seeker: Text; If the job seeker is in context, their name appears here automatically. If the job seeker is not in context, search for and select the job seeker who is interested in the job posting.
- Funding Source: Drop-down; Select a funding source for the job seeker; sources may vary according to state.
- Occupation: Text; Enter a keyword related to the occupation. A drop-down list will display as you type; select the most accurate O*NET code and title.
- Job Development Date/Time: Calendar; Select the date and time of the job development. Defaults to current date.
- Method of Contact: Option; Select the method of contact that was used to reach the employer. Select from the following options:
- Telephone
- Visit
- Interview Scheduled: Option; Select Yes or No.
- Interview Date/Time: Text/Calendar; Type the date and time of the interview, if scheduled.
- Follow-up Required? Option; Select Yes or No.
- Follow-Up Date/Time: Text/Calendar; Select the date and time for follow-up contact, if scheduled.
- Contact Name: Text; Type the contact name for the employer. Defaults to the contact person entered for the employer.
- Contact Email: Text; Type the email address of the contact person. Defaults to the email address for the employer contact.
- Contact Phone: Text; Type the phone number of the contact person. Defaults to the phone number for the employer contact.
- Ext: Text; Type the phone extension, if applicable.
- Staff User: Text; Search for and select the name of the staff member who initiated the job development. Defaults to the staff member who is logged in.
- Click Save to add the job development. Click Cancel to return to the Job Development list without adding new development. The Job Development Saved message displays.
- If the job seeker is not an active participant in a program or enrollment, a submission error message will display. The job seeker must be complete the enrollment before the job development can be created.
- Click Proceed to Enrollment to complete job seeker enrollment. Click Return to Job Development to edit or cancel the job development information.
- If the job seeker is not an active participant in a program or enrollment, a submission error message will display. The job seeker must be complete the enrollment before the job development can be created.
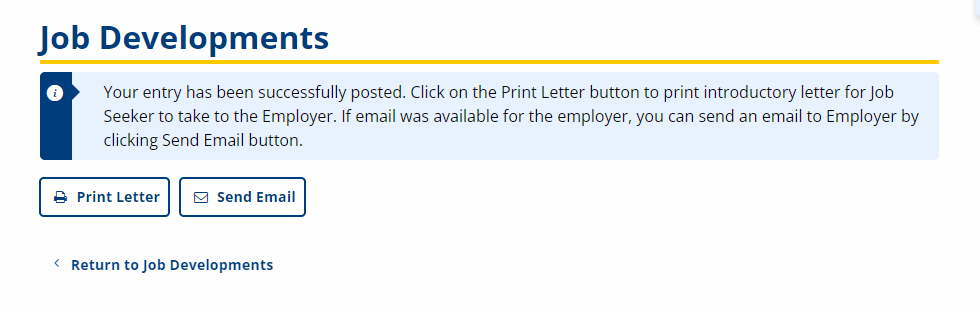
- From the Job Development Saved page, click Send Email to send an editable email of introduction for the job seeker to the employer contact. If an email address is not available, click Print Letter to open an editable letter of introduction in Microsoft Word. Click Return to Job Developments to return to the Job Developments list.