Creating a Job Posting
America's JobLink allows you to post as many job postings as you want, all for free. You can build a job posting using the JobLink online job posting builder, and you can upload a Word or PDF job description you have already created. JobLink gives you control over which information to display to potential job seekers on your job posting, such as the wages and your company contact information. If you need help or would like customized assistance in recruitment, contact American Job Center staff.
Add New Job Posting
To post a new job opening, log in to JobLink. Select Job Postings from the side menu. The Job Postings page displays. If you have any active job postings, they display here.
- If you recently created your employer account and it hasn’t been approved yet, you can still create job postings, but they will not be visible to the public until your account has been approved.
To create a new job posting, select Create a Job. The online job posting builder is split into the following eight steps.
Step 1: Job Overview
The Job Overview page includes basic information about the job you are posting, including occupation, hours, shifts, and necessary experience and education. This page is essential, as your answers affect how your posting displays in the Job Search (answers correspond to filters, like wage, education, or experience).
- Complete the Job Overview page and, at a minimum, fill out all required fields. Some information is optional; however, the more information you provide, the more attractive your job is to job seekers. It also helps JobLink provide you with better automatic resume matches.
- When you are finished, select Save and Continue.
If there is any required information that is incomplete when Save and Continue is clicked, the job posting goes into Draft status. Job postings in Draft status are automatically closed after five business days (not counting holidays) if they are not completed by you or an AJLA staff member.
Step 2: Qualifications
The Qualifications page allows you to select the talents, tools, and activities related to the occupation you chose on the Job Overview page. You can search for a specific qualification by keyword, or scroll through the options O*NET has provided. You may skip this step, but selecting qualifications provides more information to job seekers about your job posting and results in better resume matches.
If the qualifications that display are not relevant to your position, consider returning to Step 1 and entering a new occupation title.
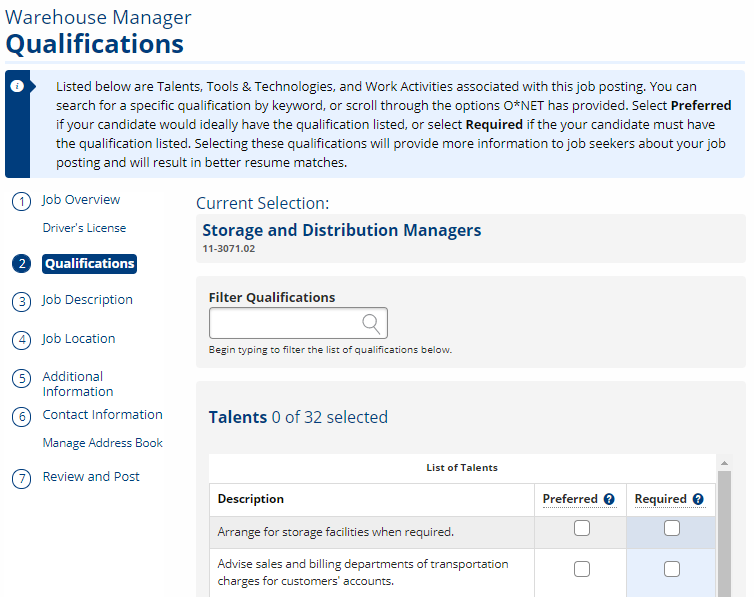
- Select Preferred if your candidate would ideally have the qualification listed, or select Required if your candidate must have the qualification listed. Qualifications that are Required display on the job posting.
- Once all talents, tools, and activities have been chosen, select Save and Continue.
Step 3: Job Description
The Job Description page includes wage information, job description, and any special credentials required.
- Complete the Job Description page and, at a minimum, fill out all required fields.
- Select Save and Continue.
You can upload a Word or PDF by selecting Job Description Attachment below the Job Description text box and selecting a file from your desktop.
Step 4: Job Location
The Job Location page displays location information pre-filled from your employer account.
- Update any information on this page as necessary.
- Add an address or manage the company’s Manage Address Book from this page and select Save and Continue.
Step 5: Additional Information
The Additional Information page displays options for job benefits and ACT WorkKeys certification. While the benefits section is optional, to attract job candidates, we recommend that you include benefits information in your job postings.
- Select or describe any benefits, and select your desired WorkKeys certificate level if your company has a certified ACT Job Profile.
- Select Save and Continue.
To learn more about WorkReady! certification and WorkKeys for Employers, visit ACT WorkKeys for Employers.
Step 6: Contact Information
The Contact Information page allows you to select how job seekers can apply for the job, and what information they can see in the posting.
- Select your posting preferences. Use the Address Book to add, edit, or delete contact options.
- You can also choose to receive emails with resume matches, to share this posting on other job websites, and if you want staff to assist you with this posting.
- Select Save and Continue.
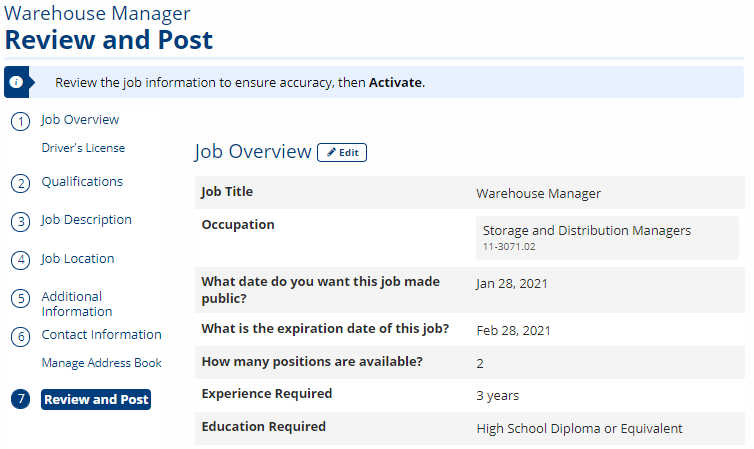
Step 7: Review and Post
The Review and Post page displays an overview of the information you entered throughout the job posting builder. Carefully review all of the information for accuracy and completeness. If you would like to edit information or add additional information, select Edit beside the title of the section you would like to edit You cn also select a a specific step in the list of steps to the left.
In the job posting view section, you have the opportunity to view how the job posting will be displayed.
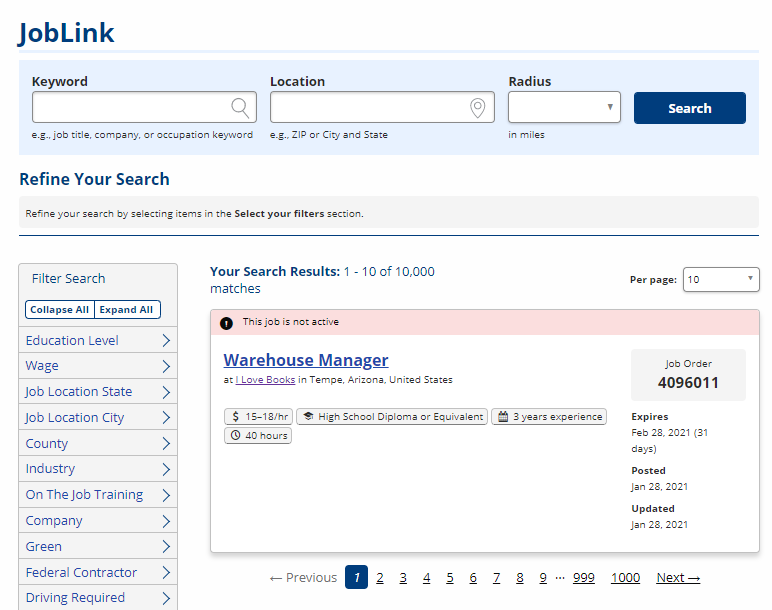
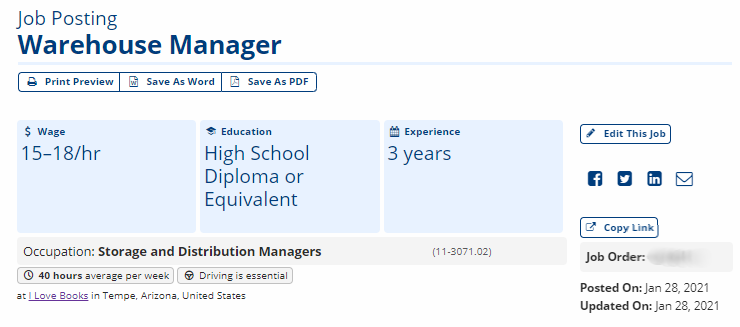
- Search Results Display is a preview of how your job posting will display to job seekers when they conduct a job search.
- Short Display is a preview of how your job posting will display to public who have not logged in to AJL.
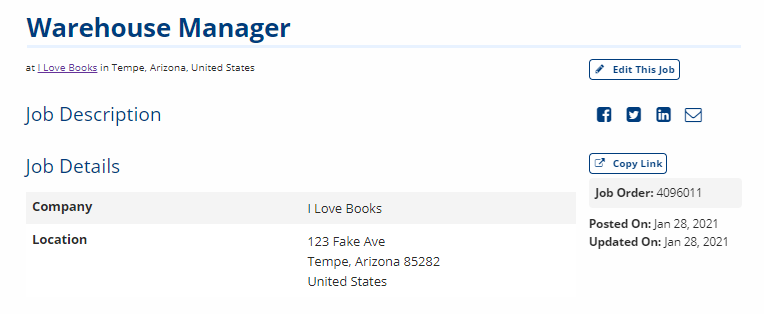
- Full Display is a preview of what will display to job seekers when they select the job title to view the job details.
When you are satisfied with your job posting, select Activate. If you requested staff assistance in the previous step, select Make Pending Staff.
Remember, you control the publication date, so you can activate a job without immediately publishing it.
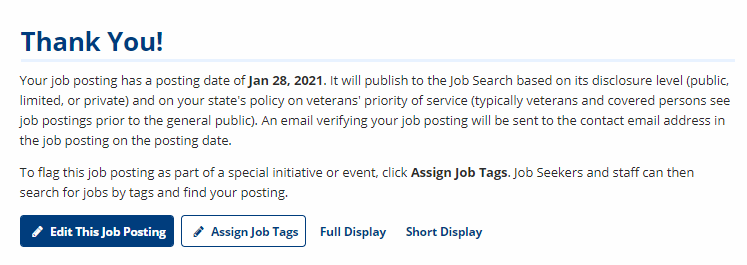
After activating the posting, a thank you message displays confirming that your job posting is now complete. The text of the thank you message depends on whether you requested staff assistance, whether the posting date is the current date or in the future, and whether your employer account is approved or pending approval.
The primary email address in your Address Book will receive a verification email on the posting date. The verification email includes the job title, job posting number, date posted, closing date, and state-designated contact email address for feedback or questions.
If you need to update the job posting, select Edit This Job Posting. To flag the job posting as part of a special initiative or event, select Assign Job Tags. More information on Job Tags is listed below.
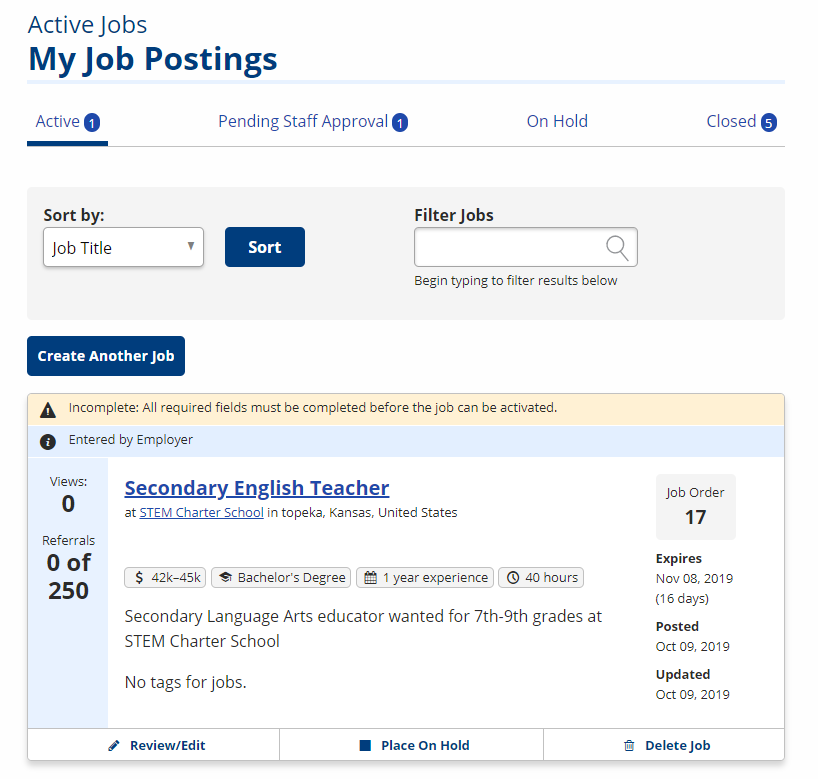
If you did not request staff assistance with this job posting, it displays immediately in your Active Jobs list. To view your Active Jobs list, in your account menu, select Job Postings.
Tags
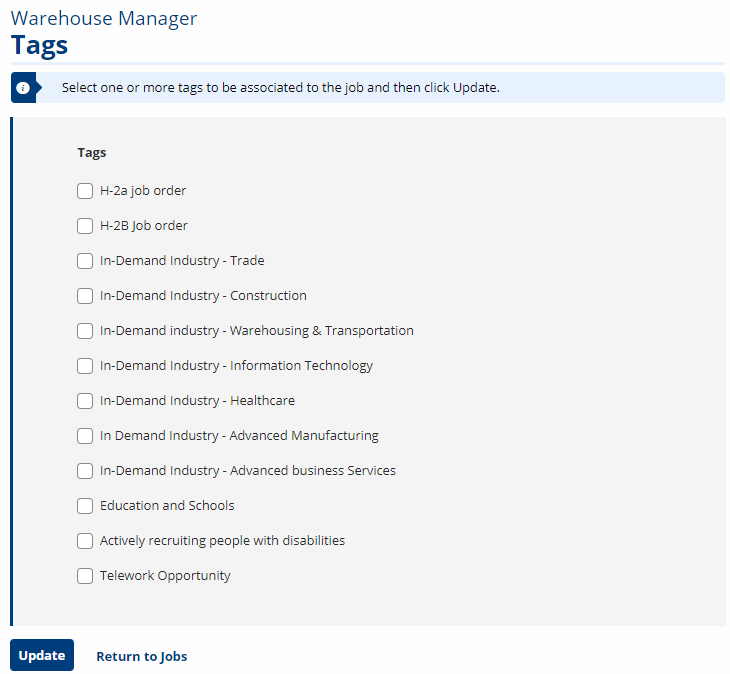
Tags are used to serve group employers or jobs by special initiatives, events, or partnerships. Select Assign Job Tags to view, add, or edit these tags. The Tags page displays. A list of all available tags in the system display. Select the checkbox beside any tags that apply to your job posting, then select Update. Job seekers can use a the Tags filter to find jobs related to specific initiatives.
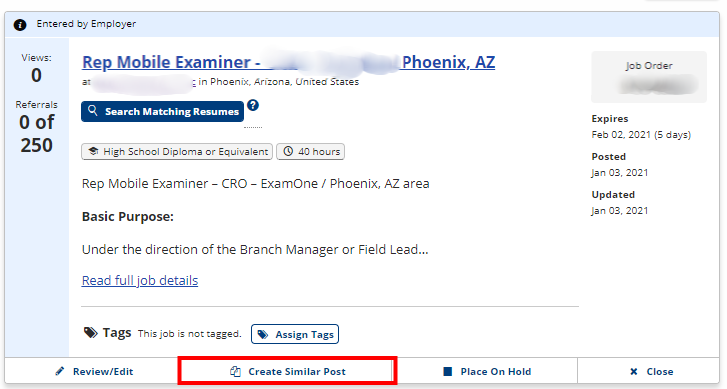
Create Similar Post
Selecting Create Similar Post beneath a job posting allows the job posting to be duplicated. Use this feature to quickly generate new job postings from existing ones.
- Underneath the desired job posting, select Create Similar Post.
- The Review and Post page displays for the new job posting. Review the content of the job posting and select Edit beside the title of any section to make changes. To quickly navigate to the appropriate section for editing, select the step in the left-hand menu.
Note that the publishing date is set to the current day, with the expiration date set to 30 days in the future (45 days for Maine and Vermont). Edit if necessary.
- When you are satisfied that the details of the job posting are correct, select Activate to make the job posting active on its publishing date, or select Make Pending Staff if you have requested staff assistance.
Veteran Priority of Service
The public workforce system is required to provide priority of service to all veterans and eligible spouses of veterans. In terms of job postings, this means that job seekers who have identified as veterans or other covered persons typically see job postings before the general public can view them.
If you post a job and do not immediately see the posting in the Job Search results, it is because you are not a veteran job seeker (or your account has not been approved). You will see the job posting when it is available to the general public.