Job Search Activity
From your Home Page, select Job Search Activity to keep track of your job search activities.
Activity Log
Each time you email an employer, an employer emails you, or you request a referral to a job, the system creates a record in your Activity Log. The record includes the following information:

- Activity: The action you've performed in relation to a job: Requested Referral Information, Viewed job posting, Applied
- Date: The date of the action
- Job Title: The title of the job
- Order number: The job posting number
- External job posting number, if relevant
- Results: The options to describe your status for the job: Awaiting Outcome, Hired, Not Hired, Did Not Apply, Other
External Job Search Activity
Use the External Job Search Activity log to manually enter job search activities outside of the AJL application.
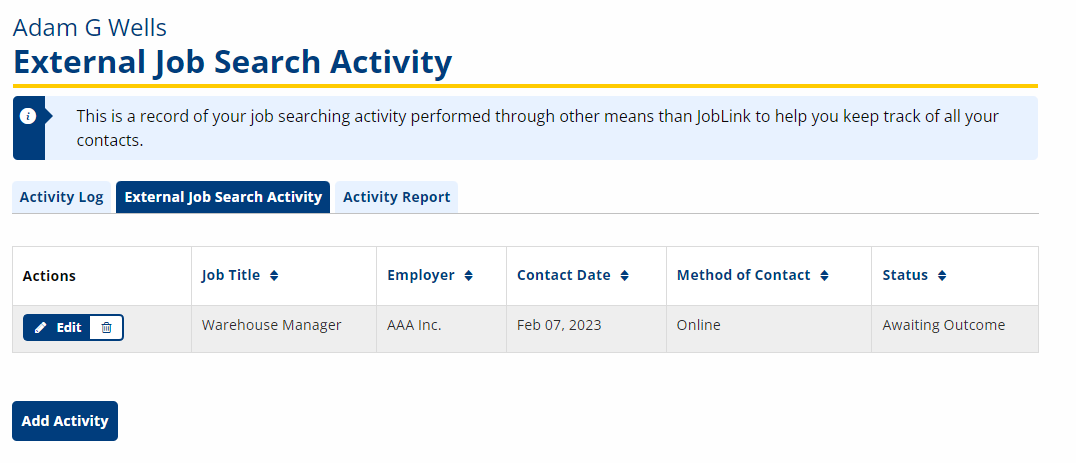
- To add an activity, select Add Activity. The Add/Edit Job Search Activities for [Name] page displays. Fill out the following information:
- Newspaper
- Networking
- Online Job Board
- Employer Contact
- Recruiter
- Other
- In-Person
- Online
- Telephone
- Letter
- Job Fair
- Other
- Awaiting Outcome
- Hired
- Not Hired
- Employer Not Hiring
- Other
- select Save to enter the note. select Clear to remove text. select Cancel to cancel the new or edited content.
- To view or update the note, select the Job Title link. select the Edit button to update or select Return to List to return.
- To enter an outcome, use the Results drop-down.
| Field | Description |
|---|---|
| Date Applied | (Text/Calendar) Enter the date (mm/dd/yyyy) on which the job search activity took place. |
| Job Title | (Text) Type the title of the position. |
| Company Name | (Text) Type the name of the company offering the position. |
| Company Address | (Text) Type the address of the company. If the company has multiple locations, enter the address of the main office or of the branch at which you are applying. |
| Company Address Line 2 | (Text) Type any additional address information, such as building or suite number. |
| Company City | (Text) Type the city in which the company is located. |
| Company State: | (Drop-Down) Select the state in which the company is located. |
| Company ZIP/Postal Code | (Digits/Text) Type the company ZIP code. |
| Company Country | (Drop-Down) Select the country in which the company is located. The default is the United States. |
| Company International State/Province/County | (Text) If the company country is not in the U.S., type the state, province, or county in which the company is located. |
| Contact Person | (Text) Type the name of the person to contact for the job opening. |
| Contact Person's Job Title | (Text) Type the title of the person to contact for the job opening. |
| Contact Address | (Text) Type the address of the contact. |
| Contact Address Line 2 | (Text) Type any additional address information, such as building or suite number. |
| Contact City | (Text) Type the city in which the contact is located. |
| Contact State | (Drop-Down) Select the state in which the contact is located. |
| Contact ZIP/Postal Code | (Digits/Text) Type the contact ZIP code. |
| Contact Country | (Drop-Down) Select the country in which the contact is located. The default is the United States. |
| Contact International State/Province/County | (Text) If the company country is not in the U.S., type the state, province, or county in which the company is located. |
| Phone | (Digits) Type the phone number of the contact. |
| Ext | (Digits) Type the extension, if applicable. |
| (Text) Type the email address of the contact. | |
| Source | (Drop-Down) Select how this contact was initiated from the following options (options may vary): |
| Other Source | (Text) If contact was initiated in another way aside from those list, type the source here. |
| Method of Contact | (Drop-Down) Select how contact was made from the following options: |
| Other Method | (Text) If the method of contact was not listed, enter the method here. |
| Result of Contact | (Drop-Down) Select the result of the contact from the following options: |
| Other Result | (Text) If the result of the contact was not listed, enter the result here. |
| Notes | (Text) Type any notes about the job search activity. |
| Follow-up Date | (Text/Calendar) If follow-up is required, enter the date on which follow-up contact should be made. |
Activity Report
The Activity Report displays all activities entered in the selected date range. This report is helpful for those needed to provide evidence of job search activities.
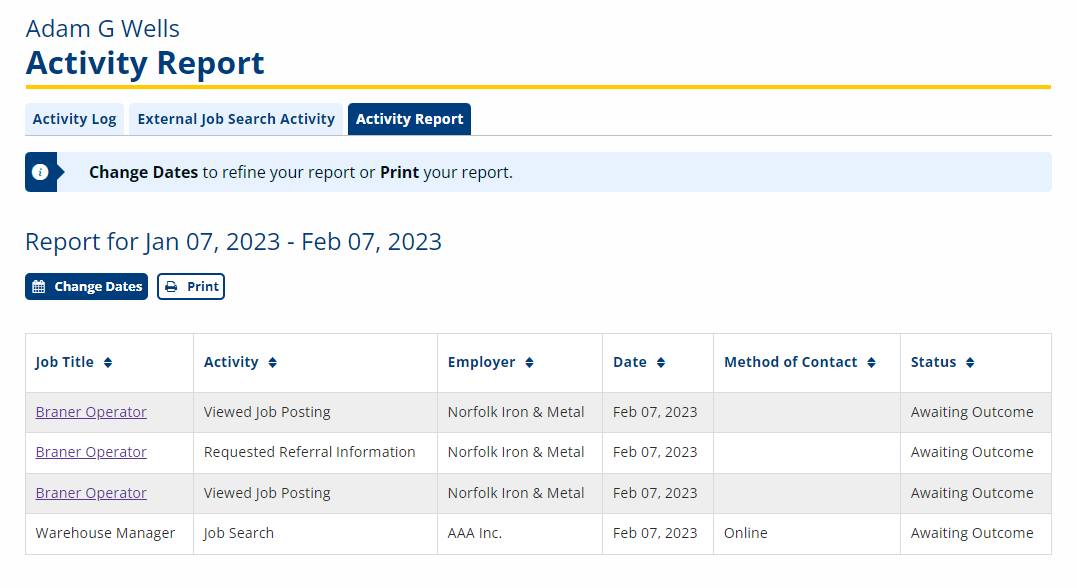
- Select the Activity Report tab.
- To select a new date range, click Change Dates and enter the desired start and end dates.
- To print the report, click Print. The printed report displays a signature line, SSN/Participant ID line, and a date line.
Return to Job Seeker Account Login.