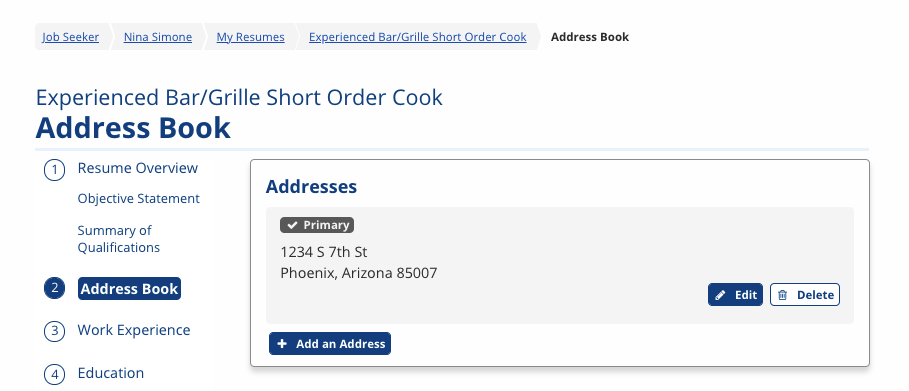
Address Book
The Address Book keeps track of all contact information you add to your job seeker account. By default, JobLink uses the contact information you provided during registration as your primary contact info. However, you can add more contact information and edit or delete entries as needed from the resume wizard or by selecting My Profile in your top navigation. When creating a resume, you can select which methods of contact you wish to display on your resume on the Review and Post page.
To view details about the types of contact info you can provide, review the tables below.
Add an Address
| Field | Description |
|---|---|
| Label | (Text) Enter the label for the type of address listed. (e.g., Work, Home, etc.) |
| Address Line 1 | (Text) Enter the street address for this residence or business. |
| Address Line 2 | (Text) Enter any additional street address information, such as suite or building number. |
| ZIP | (Text) Enter the home or business’s ZIP code. Once you select a suggested ZIP from the list or tab/click away from this field, the City and State fields automatically populate based on the ZIP entered. |
| City | (Text) Enter the city in which the home or business is located. This is automatically populated from the ZIP but can be manually modified or entered if needed. |
| State | (Drop-Down) Select the state in which the home or business is located. This is automatically populated from the ZIP but can be manually selected if needed. If outside the United States, select --International--. |
| Country | (Drop-Down) Select the country in which the home or business is located. |
| International State/Province | (Text) If the home or business is in a country other than the U.S., enter the international state/province. (This field displays only after a country other than the United States is selected in the previous field.) |
| International Postal Code | (Text) If the home or business is in a country other than the U.S., enter the international postal code. (This field displays only after a country other than the United States is selected in the previous field.) |
Add a Phone Number
| Field | Description |
|---|---|
| Label | (Text) Enter the label for the type of phone number listed. (e.g., Work, Home, etc.) |
| Phone | (Text) Enter the phone number with area code. |
| Select if this phone can receive texts. | (Check box) If you want to receive text messages to help you reset a password when you are locked out of your account, select the checkbox. To receive a text message password reset code, you must have a number entered that can accept texts. |
Add a Fax Number
| Field | Description |
|---|---|
| Label | (Text) Enter the label for the type of fax number listed. (e.g., Work, Home, etc.) |
| Fax | (Text) Enter the fax number with area code. |
Add an Email Address
| Field | Description |
|---|---|
| Label | (Text) Enter the label for the type of email address listed. (e.g., Work, Home, etc.) |
| (Text) Enter the email address for the label chosen. | |
| Email Confirmation | (Text) Re-enter the email address. |
Add a Website Address
| Field | Description |
|---|---|
| Label | (Text) Enter the label for the type of web address listed. (e.g., Company, Personal, etc.) |
| Website |
(Text) Enter the website address.
|
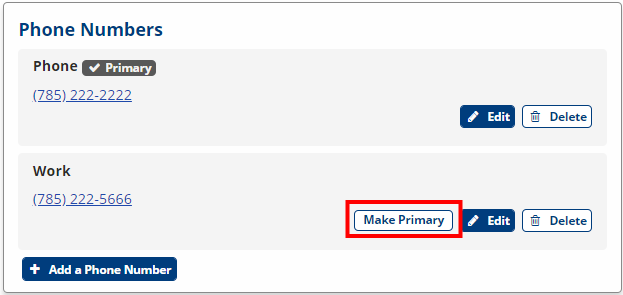
Setting Primary Contact Info
If you list more than one contact method for any of the forms of contact information, you can select Make Primary to make this contact info your default information. Primary contact info is important to identify so that staff know the best means to contact you if necessary.
Editing Address Book Entries
- To edit existing contact information, select Edit to the right of any current contact information listed.
- On the Edit [contact information detail] page, update any information and select Save [contact information detail].
Deleting Address Book Entries
- To remove any obsolete or duplicate addresses or numbers, select Delete next to the entry you are removing. A confirmation message displays; select Delete to complete the removal.
To read information on the next step in the resume builder, select Work Experience. To return to the main steps, go to Creating a Resume.