Add Providers
- On the Approval Menu, click Provider Menu, or click Provider Menu in the side menu. The Provider Menu displays.
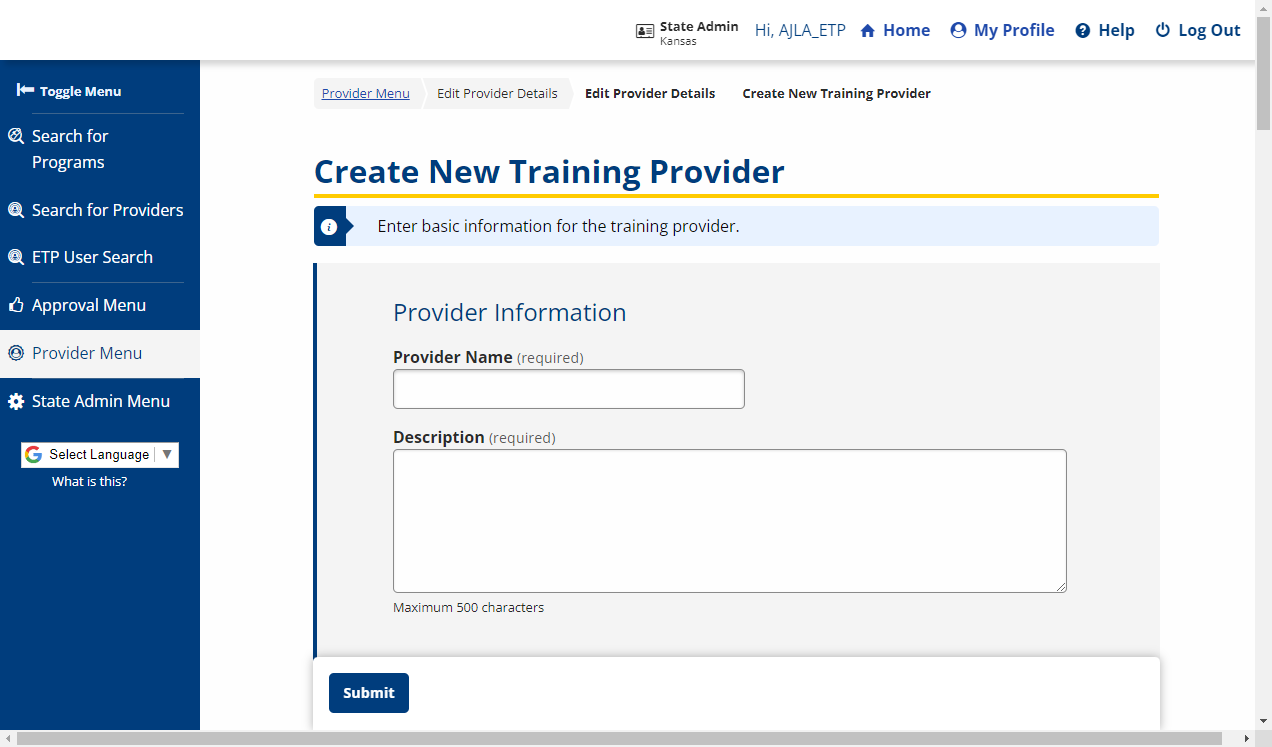
- Click Create New Training Provider. The Create New Training Provider page displays. Complete the required fields and click Submit.

- Training Provider Registration fields and descriptions
Training Provider Registration Field Description PROVIDER INFORMATION Local WIB Number (Display Only) The WIB is generated and displays after the page is saved. The Local WIB Number is generated based on the provider’s zip code. Identifier Number (Display Only) The ID is generated and displays after the page is saved. It is a consecutive number generated by ProviderLink. If the Training Agent ID and Vendor ID are not entered, ProviderLink generates the same number for all three IDs. Provider Name (Text) Enter the name of the institution. - Although this is not desirable, an institution can (and often will) have more than one record in ProviderLink. For example, if the name is Hamilton Area Community College, one record may read Hamilton ACC, another may read HACC, and another Hamilton Area Community College. Take care to use the name consistently.
Description (Text) Describe the Training Provider business. (500 character max.) Address Line 1
Address Line 2(Text) Enter the full street address for the institution. - This address is used by the public to map the location and get directions. Avoid providing a P.O. box, because these cannot be mapped.
ZIP (Text) Enter the ZIP or postal code of the institution. The City and State are automatically populated once a suggested ZIP is selected or if you tab/click away from this field. City (Text) Enter the city where the institution is located. State (Drop-down) Select the state where the institution is located from the drop-down. Training/Education Institution County (Drop-down) Select the county where the training institution is located. Country (Drop-down) If the training/education institution is located in a country other than the United States, select that country. Phone (Text) Enter the telephone number for the institution. Fax (Text) Enter the fax number for the institution. Email (Text) Enter an email address to which the public can address general information inquiries. Website (Text) Enter the URL for the institution’s website. FEIN (Text) Enter Federal Employer Identification Number for the institution. After account approval, the FEIN can only be edited by ETP staff. Training Institution Type (Drop-down) Select an option to indicate the type of institution. Options are: - Higher Ed: Associate’s Degree
- Higher Ed: Baccalaureate or Higher
- Higher Ed: Certificate of Completion
- National Apprenticeship
- Private Non-Profit
- Private For Profit
- Public
- Other
Are reasonable accommodations available for people with disabilities when requested? (Drop-down) Select Yes or No. Are you in any partnership(s) with business? (Drop-down) Select Yes or No. If Yes, enter the Business Partnership Description. Do you provide access to training to individuals who are employed? (Drop-down) Select Yes or No. Do you provide access to training to individuals with barriers to employment? (Drop-down) Select Yes or No. Approved WIOA Youth Services Provider (Option Buttons) Select Yes, No, or NA (not applicable). PRIMARY CONTACT INFORMATION First Name
Last Name(Text) Enter the full name of the contact person. Title (Text) Enter the job title of the contact person. Address Line 1
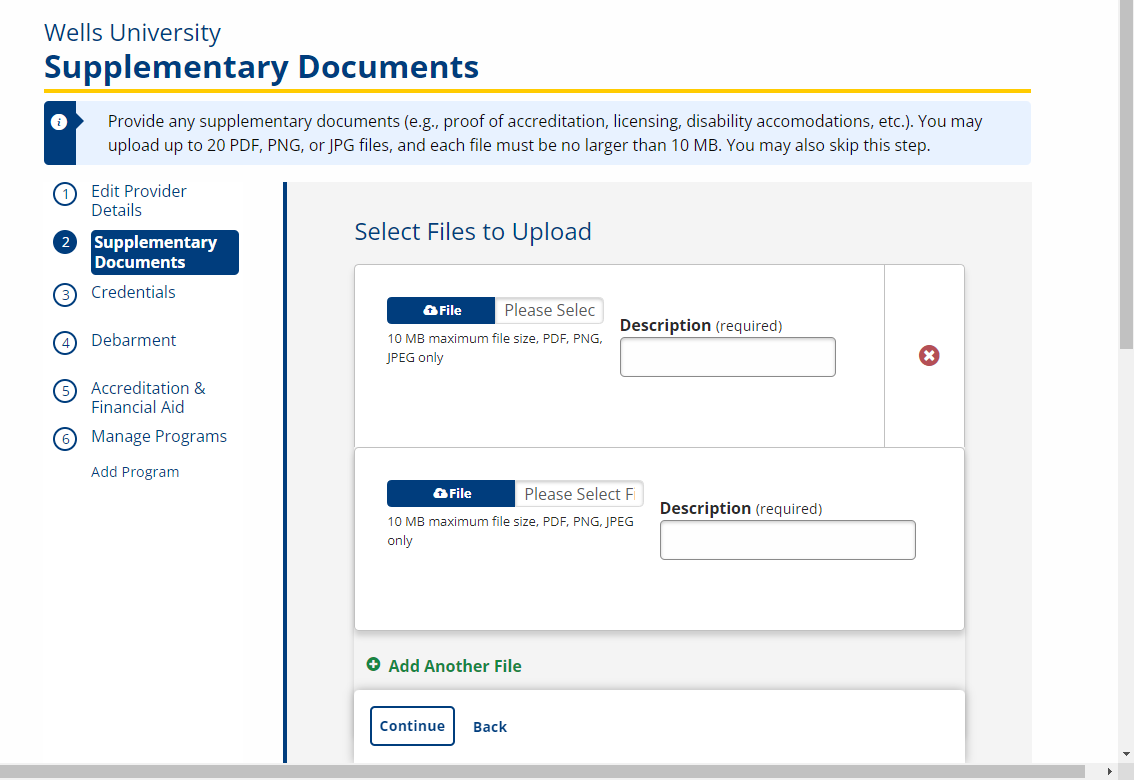
Address Line 2(Text) Enter the street address of the contact person. City (Text) Enter the city were the contact person is located. State (Drop-down) Select the state where the contact person is located. Zip (Text) Enter the ZIP or postal code of the contact person. County If applicable, enter the international state, province, or county in which the contact person is located. Country (Drop-down) If the contact person is located in a country other than the United States, select that country. Phone (Text) Enter the primary phone number of the contact person. Fax (Text) Enter the fax number of the contact person. Email (Text) Enter the email address for the contact person. The contact person will receive an email with instructions for confirmation. - The Supplementary Documents page displays. Upload any supplemental documentation for the training provider (including a Description) and click Continue.
- The ETP Application EO Assurances page displays. Carefully review the Assurances page. If the training institution assures compliance, select Yes and click Submit.
- If the training institution cannot assure compliance, click No to terminate the application process and return to the AJL Home page. Compliance is required.
-
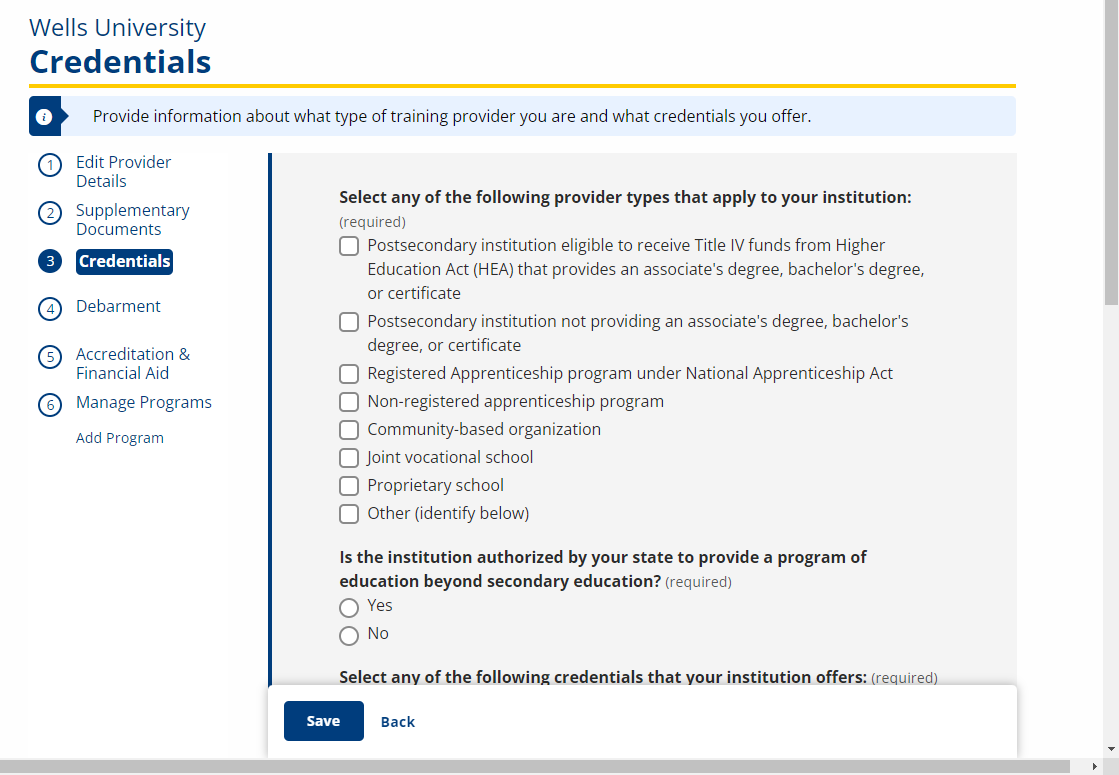
The Credentials page displays. Enter the required eligibility information and click Save.
- Credentials fields and descriptions
| Field | Description |
|---|---|
| Select any of the following provider types that apply to your institution: | (Check boxes) Select any provider types that apply to the provider:
|
| Other (Please specify if selected above.) | (Text) Enter a description of the type of training institution. Required if Other is checked. |
| Is the institution authorized by your state to provide a program of education beyond secondary education? | (Option buttons) Select Yes or No. |
| Select any of the following credentials that your institution offers: | (Check boxes) Select any credentials that the provider offers:
|
| Other (Please specify if selected above.) | (Text) Enter a description of the credential. Required if Other is checked. |
-
The Debarment page displays. Enter the required debarment information and click Save.
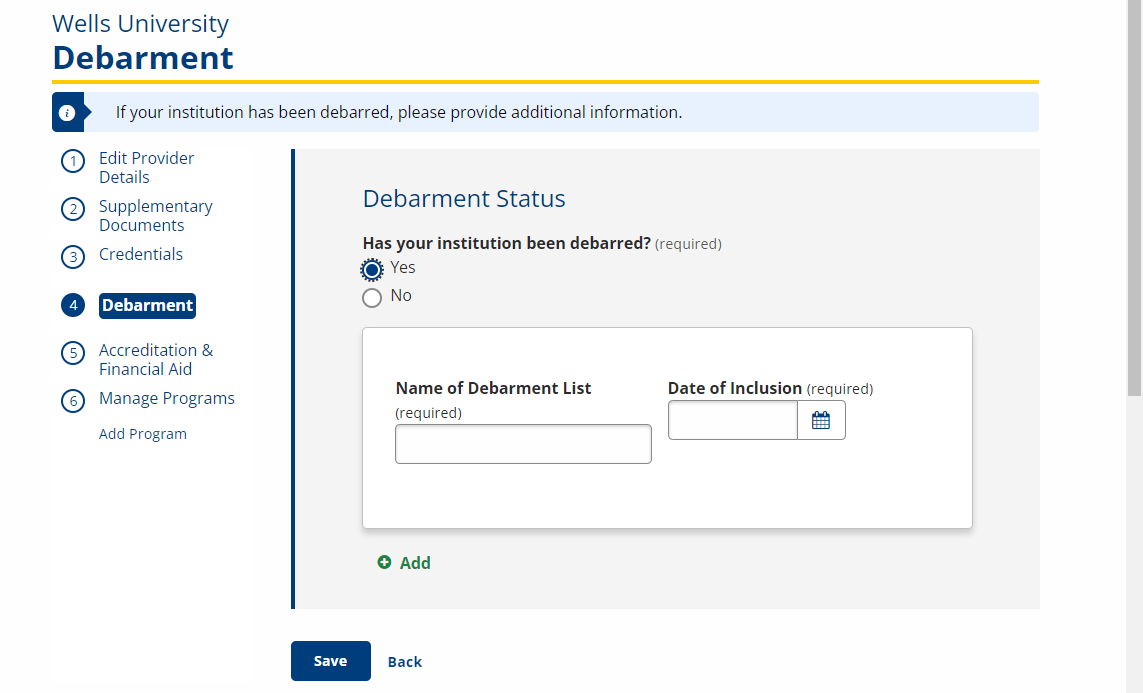
- None of the fields on the Debarment page are required. If your institution is not on a debarment list, click Save/Continue without making any entries in any of the fields.
- Debarment fields and descriptions
Debarment Field Description Is your training/education institution listed on any state or federal debarment lists? (Option buttons) Select Yes or No. Name of Debarment List (Text) If Yes is selected, enter the name of the first debarment. Date of Inclusion (Text) If Yes is selected, enter the date of first inclusion in mm/dd/yyyy format or click the calendar icon and select the date. Add (Button) Click to add an additional debarment if needed. -
The Accreditation & Financial Aid page displays. Enter the required institution information and click Save/Continue.
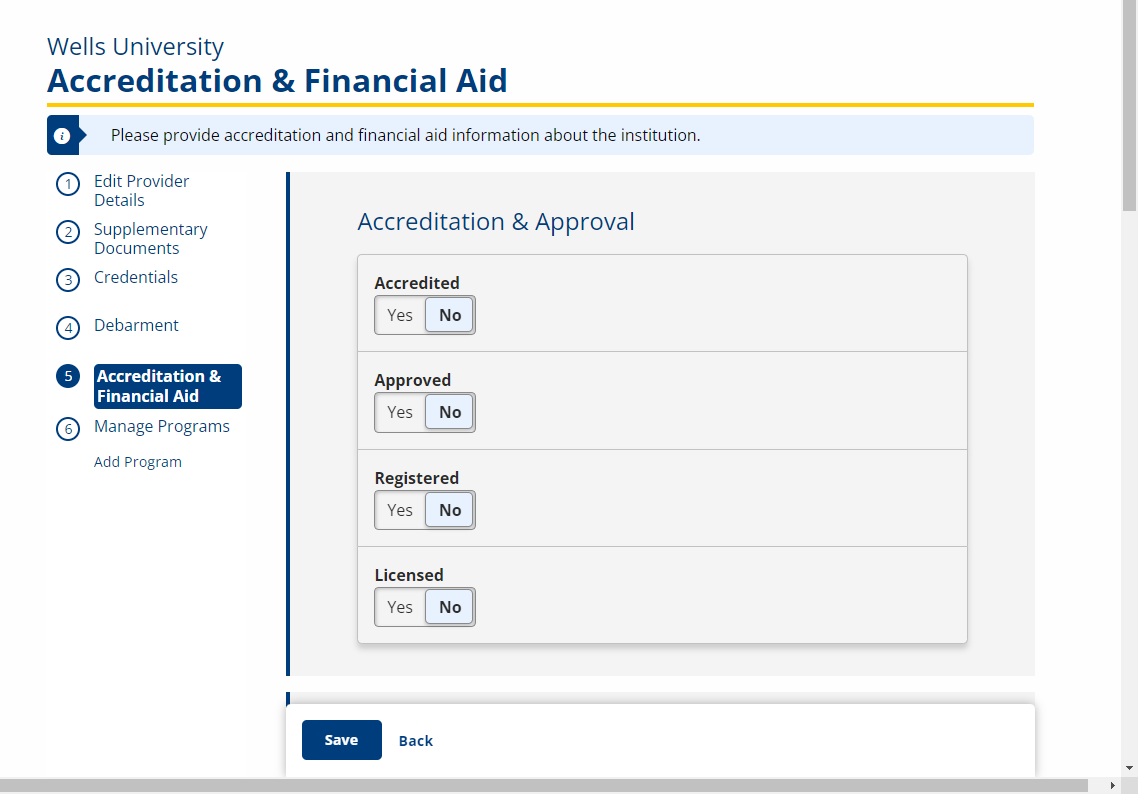
- Accreditation & Financial Aid fields and descriptions
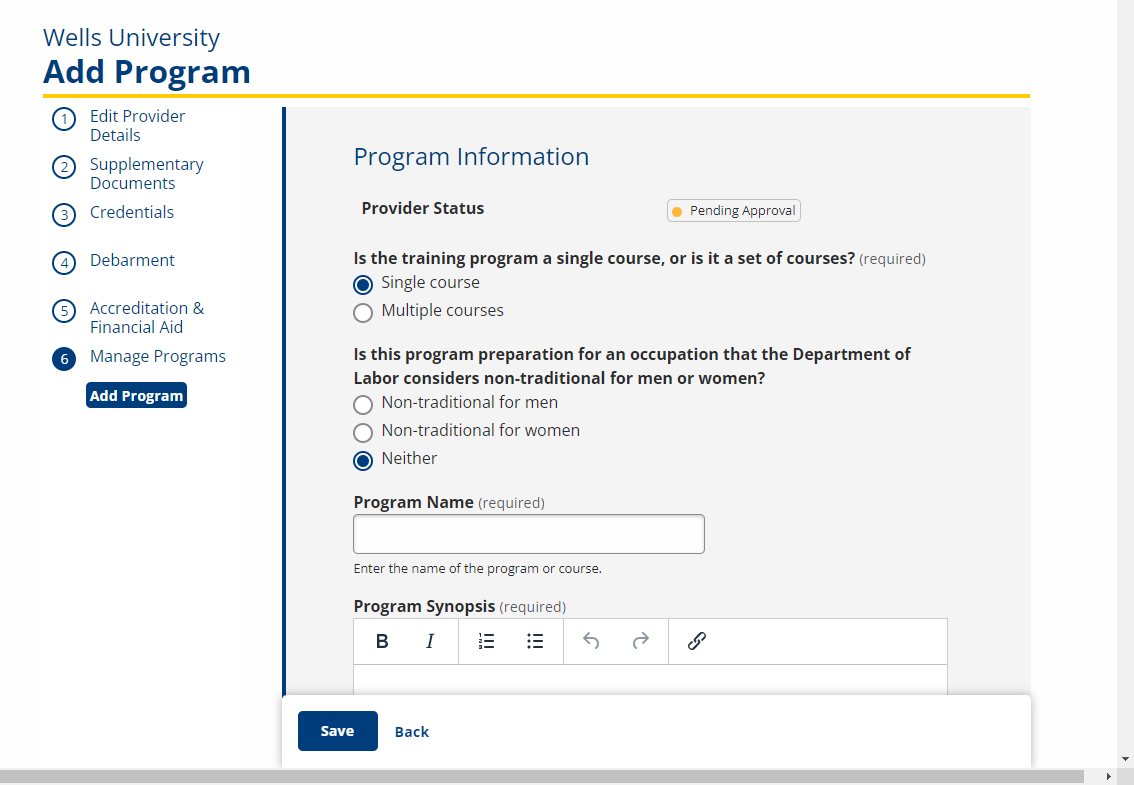
Institution Info Field Description Accredited (Toggle) Select Yes or No. Accredited By (Text) If Yes is selected, enter name of the accreditation entity. Approved (Toggle) Select Yes or No. Approved By (Text) If Yes is selected, enter name of the approval entity. Registered (Toggle) Select Yes or No. Registered With (Text) If Yes is selected, enter name of the registration entity. Licensed (Toggle) Select Yes or No. Licensed By (Text) If Yes is selected, enter name of the licensure entity. Does your institution have a tuition refund policy? (Option buttons) Select Yes or No. Does your institution have access to or offer the following financial aid? Federal Grants (Toggle) Select Yes or No. List (Text) If Yes is selected, list the federal grants. State Grants (Toggle) Select Yes or No. List (Text) If Yes is selected, list the state grants. Local Grants (Toggle) Select Yes or No. List (Text) If Yes is selected, list the local grants. Scholarships (Toggle) Select Yes or No. List (Text) If Yes is selected, list the scholarships. Fellowships (Toggle) Select Yes or No. List (Text) If Yes is selected, list the fellowships. Training/Education Institution Grants (Toggle) Select Yes or No. List (Text) If Yes is selected, list the training/education institution grants. - The Training Provider record is complete. The Add Programs page displays. If you wish to enter new programs at this time, see Add Programs.
- After adding the new provider, the provider displays in the state administrator’s Pending Initial Provider queue. See Approve or Deny Initial Providers.