Add Client Overview
This section provides high-level task-oriented instructions for adding a client record, adding an enrollment, and adding a service to an enrollment. The functions described here are also described in other sections of this guide and are detailed, step by step, in the AJL Quick Start Guides (QSGs, which are available from your AJL administrator). The purpose of this section is to provide instructions for all steps required to add the client record, add the enrollment, and add the service.
Overview of Steps
Step 1: Conduct a Client Search to determine if the client has a self-service and/or staff-assisted record.
- If the client has a self-service account, use that account to complete the client record by adding the demographics information.
- If the client has previously received staff-assisted services, update the existing demographic information and the eligibility date. See Client Eligibility and Assess Eligibility.
Step 2: Add the client record: Create an account and complete the client's demographic information.
Step 3: Go to Case Details. Use the program link to add the registration/enrollment.
- AJL assesses eligibility based on the demographic information entered. The registration/enrollment cannot be added (the program does not have an active link) unless the client is eligible.
- An occupational code may be required to add a Labor Exchange registration.
Step 4: After the enrollment is added, the Enrollment Details page displays. Use the Service and Training Plan link on Enrollment Details to add services.
Step 1: Client Search
- Navigate to Client > Client Search. The Client Search page displays.
- Enter the client's SSN in the SSN field. Click the Search button. The Results page displays, with an Add New Client button.
- Searching by SSN determines that the SSN is not in the AJL database. However, the client could have a self-service account with a pseudo-SSN, or he/she could have a previous record with the wrong SSN.
- Click Client Search in Related Links to search again by name. The Client Search page displays.
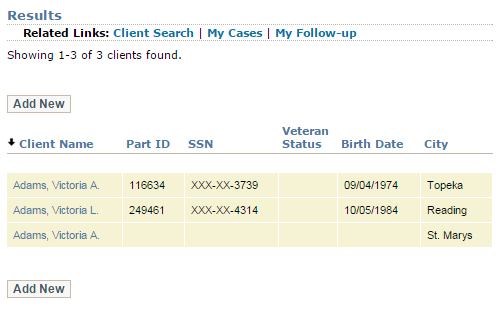
- Remove the previously entered SSN. Enter the Last Name and First Name and click Search. The Results page displays.
- Use the information displayed on the Results page to determine if one of the records belongs to the client. If not, click the Add New Client button. The No Match Found page displays.
- Click the OK button on the No Match Found page. The Add New Client page displays.
Quick Start Guide
Click to view full-screen video in new tab: Searching for and Bookmarking Clients and Employers QSG
Step 2: Add Client Record
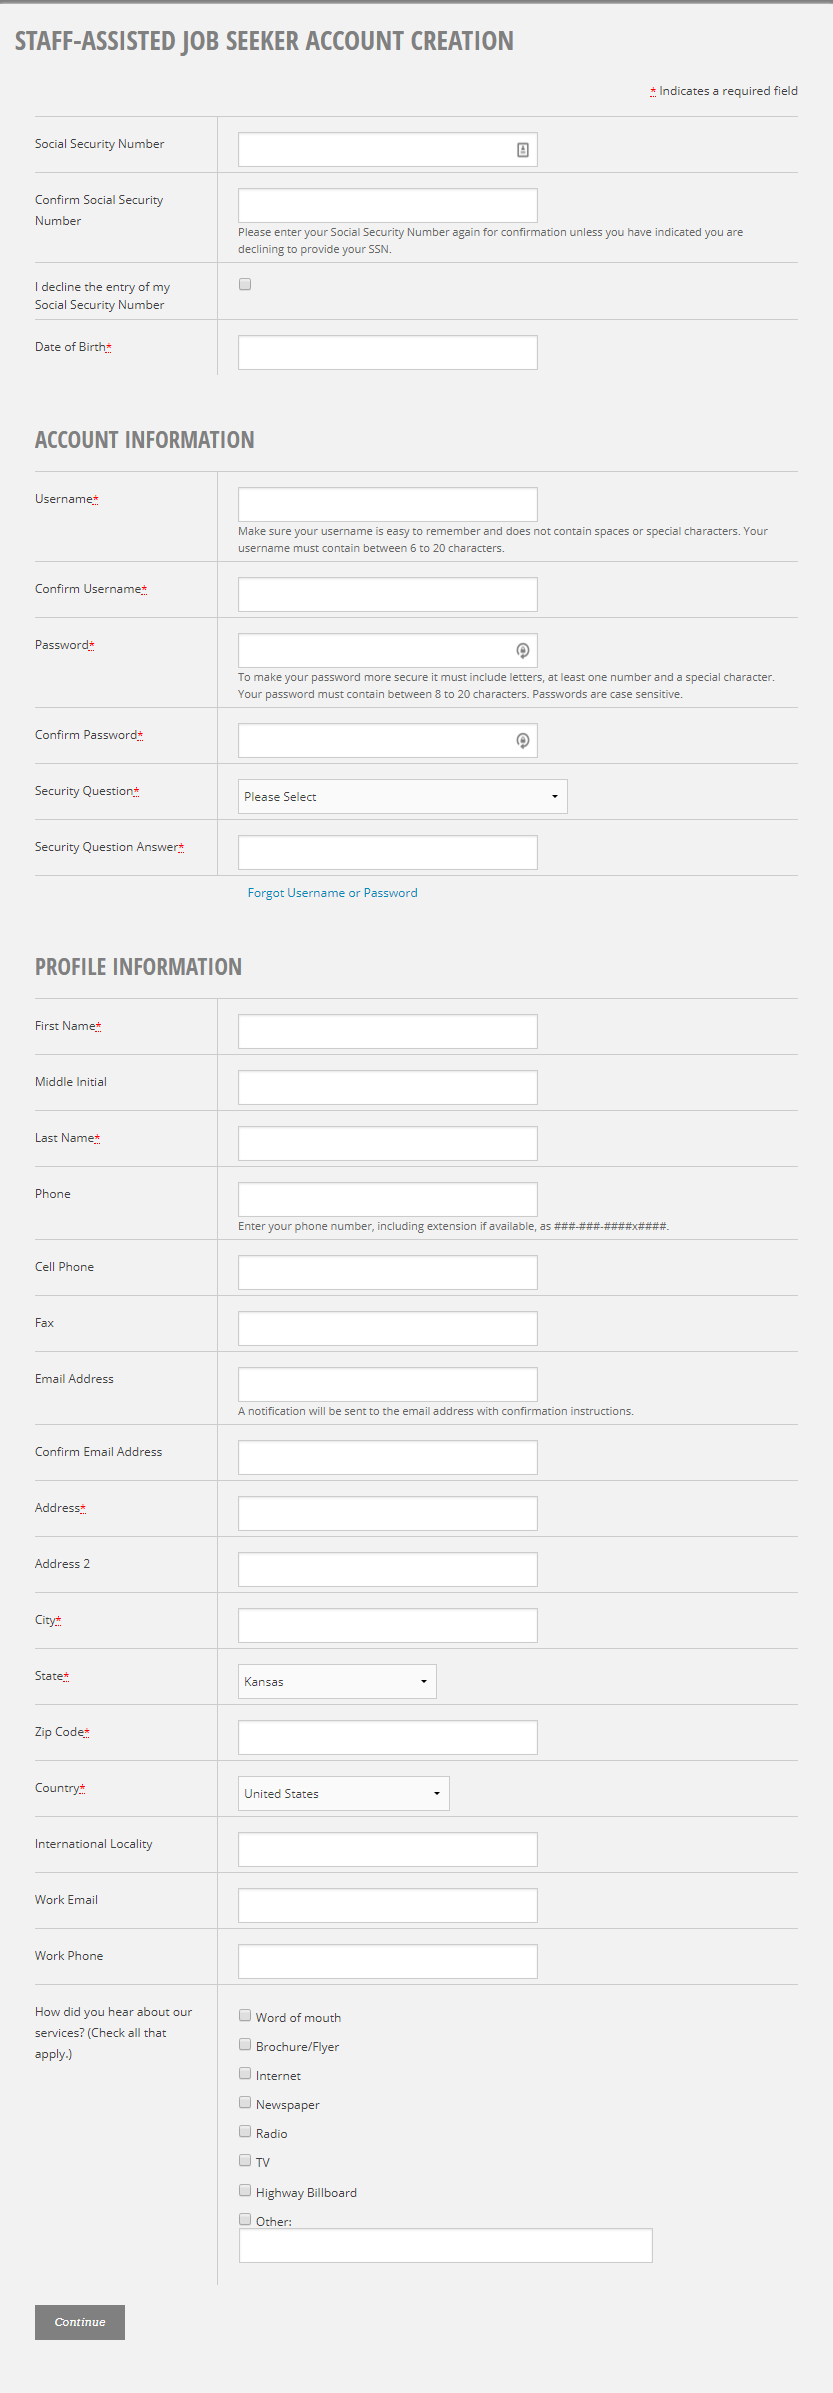
- On the Staff-Assisted Job Seeker Account Creation page (Personal Information), complete the fields. Ask the client to create a username and password. The client can use this account to log in for self-directed job search activity. Click Submit. The Equal Employment Opportunity (EEO) page displays.
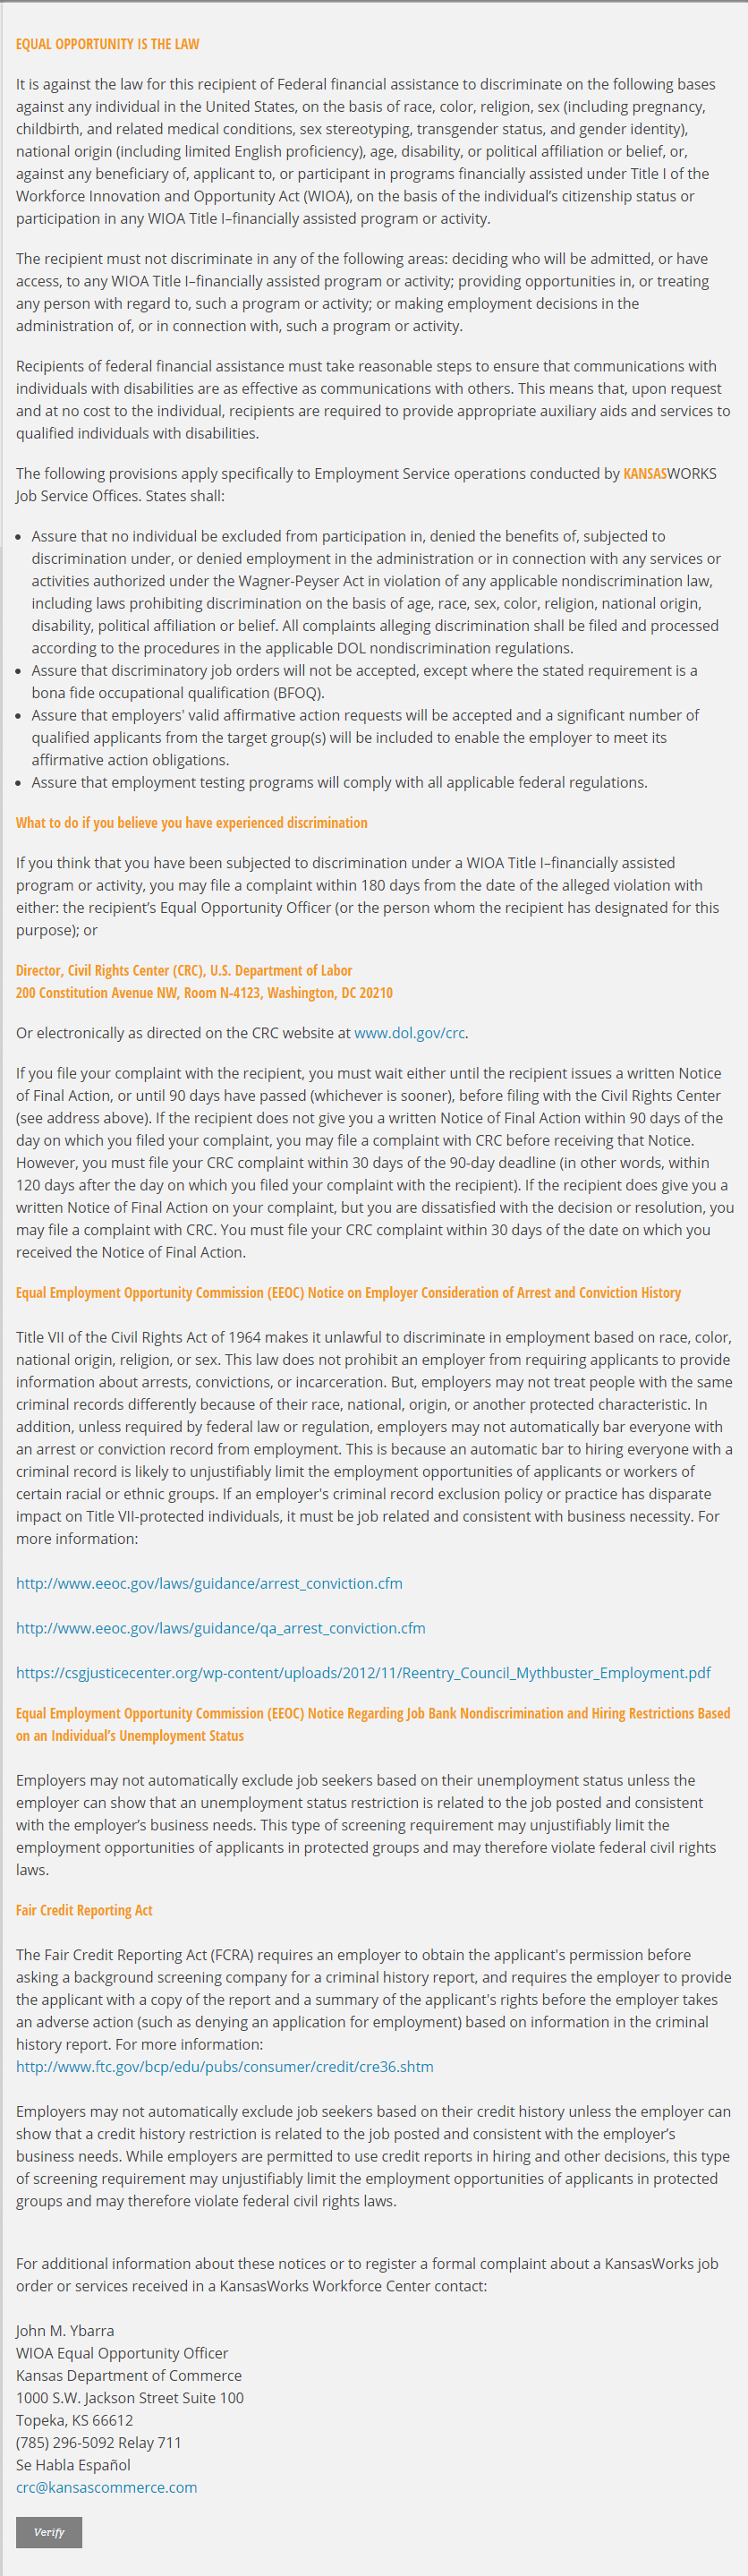
- Review the EEO statement with the client. Click the Verify button to verify that the client has been advised of his/her EEO rights and responsibilities.
- Review the Registration Information and Data Privacy Notice with the client. Click the I Accept button. The Authorization for Release of Information page displays.
- If the client does not accept, click I Decline. The registration process cancels and the Client Search page displays.
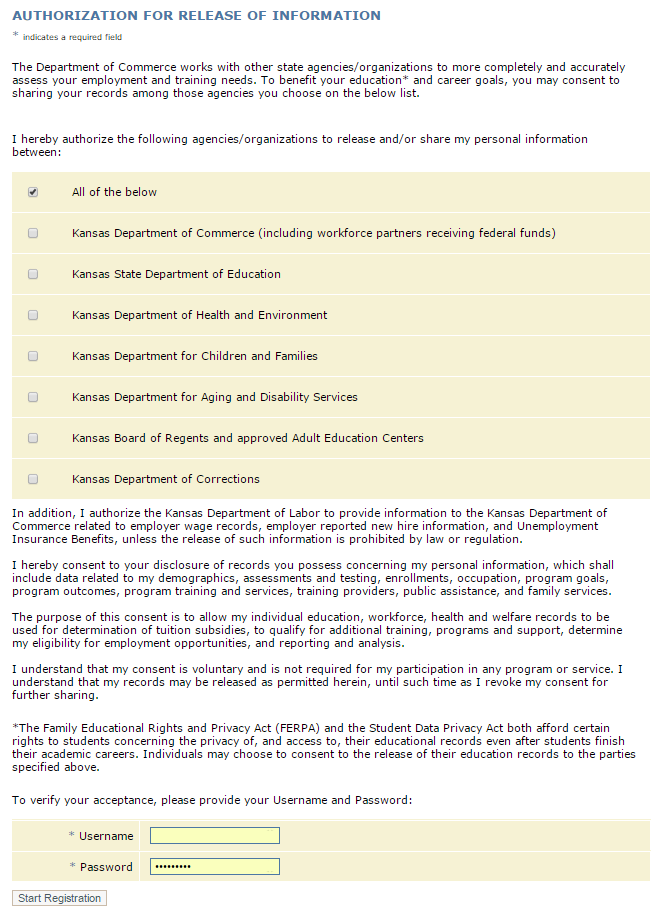
- Review the Authorization for Release of Information page with the client and complete as appropriate. Enter the client's username and password, and click Start Registration. The Registration Information page displays.
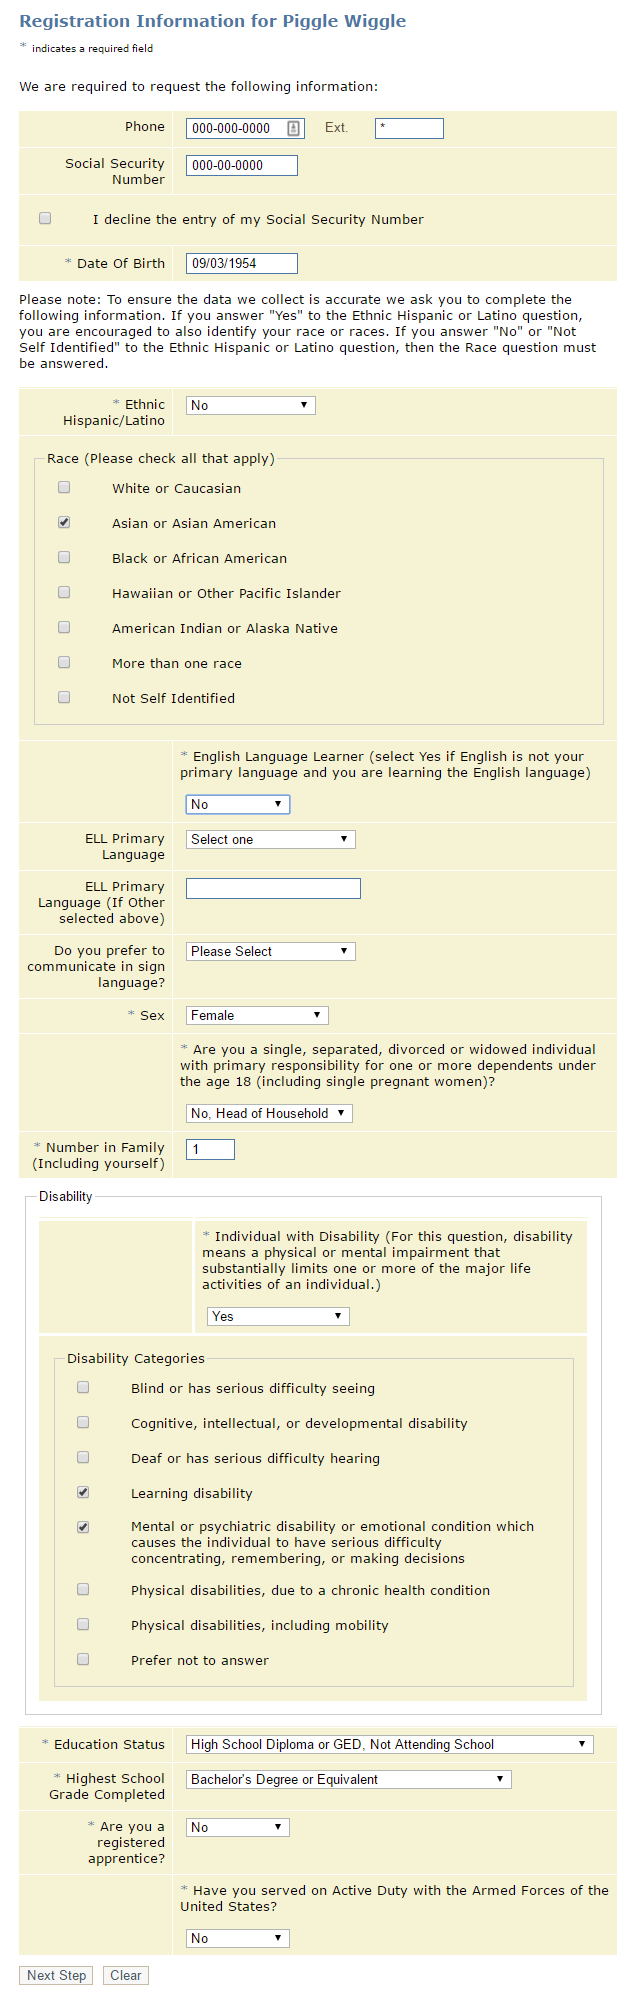
- The SSN and Date of Birth fields are populated with information from the Staff-Assisted Job Seeker Account Creation page. Complete the remainder of the fields and click Next Step.
- If the client has a pseudo SSN, a warning page displays. Click Decline Entry of SSN to continue, or click Cancel to return to the Registration Information page and enter the client's SSN.
- The answer to "Individual with Disability" determines which page displays next. (See Disability in Demographics for a complete description of this page.)
- The answer to "Have you served on Active Duty with the Armed Forces of the United States?" can also determine which page displays next. (See Veteran Information in Demographics for complete descriptions of veteran pages.)
- Yes: Veteran Service Information.
- If the character of discharge is dishonorable, the Spouse of a Veteran page displays.
- If the active duty service end date or retirement date is in the future, the Veterans Information (Short) page displays.
- If the length of service is greater than 180 days, the active duty service end date or retirement date is NOT in the future, and the character of discharge is NOT dishonorable, the Veteran Information (Long) page displays, followed by the Wounded Warrior Caregiver page.
- If the length of service is less than or equal to 180 days, the active duty service end date or retirement date is NOT in the future, and the character of discharge is NOT dishonorable, the Veteran/Reserve Guard Unit Information page displays.
- If either question on Veteran/Reserve Guard Unit Information is Yes, the Veteran Information (Long) page displays.
- If both questions on the Veteran/Reserve Guard Unit Information are No, the Veteran Other Reason for Discharge page displays.
- If any of the questions on Veteran Other Reason for Discharge are Yes, the Veteran Information (Long) page displays.
- If the questions are Veteran Other Reason for Discharge are No, the Spouse of a Veteran page displays.
- No: Veteran Information displays.
- If Yes, then Wounded Warrior Caregiver page displays.
- Yes: Veteran Service Information.
- Following collection of the veteran data, Migrant Seasonal Farm Worker (MSFW Page 1) displays. If MSFW is Yes, two additional MSFW pages display.
- Following collection of the MSFW data, Employment Status displays.
- Following collection of the Employment Status data, Selective Service displays, if the client is male and born on or after January 1, 1960.
- Following collection of the Selective Service data, Work Eligibility displays.
- Following the Eligibility to Work in the U.S., Dislocated Worker pages display. Depending on the response to the Dislocated Worker question, one or two additional pages display.
- If "Have you been laid off or received a notice of layoff from your employer as a result of a reduction in the employer's workforce or received a notice of termination from your employer?" is selected, the Previous Occupation page displays.
- If "None of the above" is selected, the Statewide 15% program ID page displays.
- All other selections lead to the Layoff Details page displays.
- Following collection of the Dislocated Worker data, SESP displays.
- Following the SESP/HGEI data, if the client is provisionally eligible for R/ATAA, the R/ATAA page displays. If not, the Misc. page displays.
- Following the R/ATAA page, Misc displays.
- Following the Misc. page, Low Income displays.
- The next six pages (Low Income, Income Amounts, Income Totals, Public Assistance Information, Disability Employment Initiative, and Needs and Barriers) may or may not be optional, depending on the state.
- If they are optional, a Skip to Case Details button displays. To skip the Low Income, Income Amounts, Income Totals, Public Assistance Information, Disability Employment Initiative, and Needs and Barriers pages, click the Skip to Case Details button. The client's Case Details page displays.
- Following collection of the Low Income data, (Income Amounts) displays. Following the Income Amounts data, the Income Totals page displays.
- Following Review of the Income Totals page, Public Assistance displays.
- Following the Public Assistance Information data, Disability Employment Initiative displays.
- Following collection of the Disability Employment Initiative data, Needs and Barriers displays.
- Needs and Barriers is the last Demographic Information page. Following collection of the Needs and Barriers data, the Demographics Information page displays, showing all information entered, with Edit links at the top of each section for editing.
- Following review of the Demographic Information, click the Return to Case Details button. The Case Details page displays.
Quick Start Guide
Click to view full-screen video in new tab: Registering a New Client
Step 3: Add Enrollment
- Click the appropriate program link in the Program Registration section of the Case Details page. The client's Demographic Information page displays. See Program Registrations for details on how the Program Registrations display.
- Review the client's demographic information to ensure that all information is complete and accurate. Scroll down to the bottom of the Demographic Information page and click Continue to [Program Name] Enrollment. The EEO Statement displays.
- Review the EEO information with the client to ensure that the client is aware of his/her rights and responsibilities.
- Scroll down to the bottom of the EEO page. Click Verify. The [Program Name] Enrollment page displays.
- If the client is eligible for more than one enrollment for the selected program registration, an interim page displays with links for the enrollment for which the client is eligible. Select the appropriate enrollment.
- Example: Client is eligible for WIOA Adult and WIOA Dislocated Worker, but not WIOA Youth. When the WIOA program registration link is clicked, the interim page displays only the Adult and Dislocated Worker enrollment links.
- Complete the fields on the Add Enrollment page and click Add Enrollment. The Enrollment Details page displays.
Quick Start Guide
Click to view full-screen video in new tab: Enrolling a Client in Programs
Step 4: Add Enrollment-Specific Services
- Navigate to the Service and Training Plan. The Service and Training Plan page displays.
- This page may include two options for adding services: Services Quick Entry and Add Service.
- Services Quick Entry is set by states, by enrollment, to display or not.
- Services Quick Entry is typically set to display only for LE and WPRS enrollments.
- To add one or more completed services, click the Services Quick Entry button.
- To add a single service in any status, click the Add Service button.
- Add the service details and click Save.
Don't see the service you want to add? Different services display in the Service Type drop-down for different enrollments, although many may be common across enrollments. For example, the Waiver service typically displays only for TAA enrollments. Services are established by each state using AJL's Services Admin function. If you have any questions about services, contact your supervisor or AJL administrator.
Quick Start Guide
Click to view full-screen video in new tab: Adding Client Services